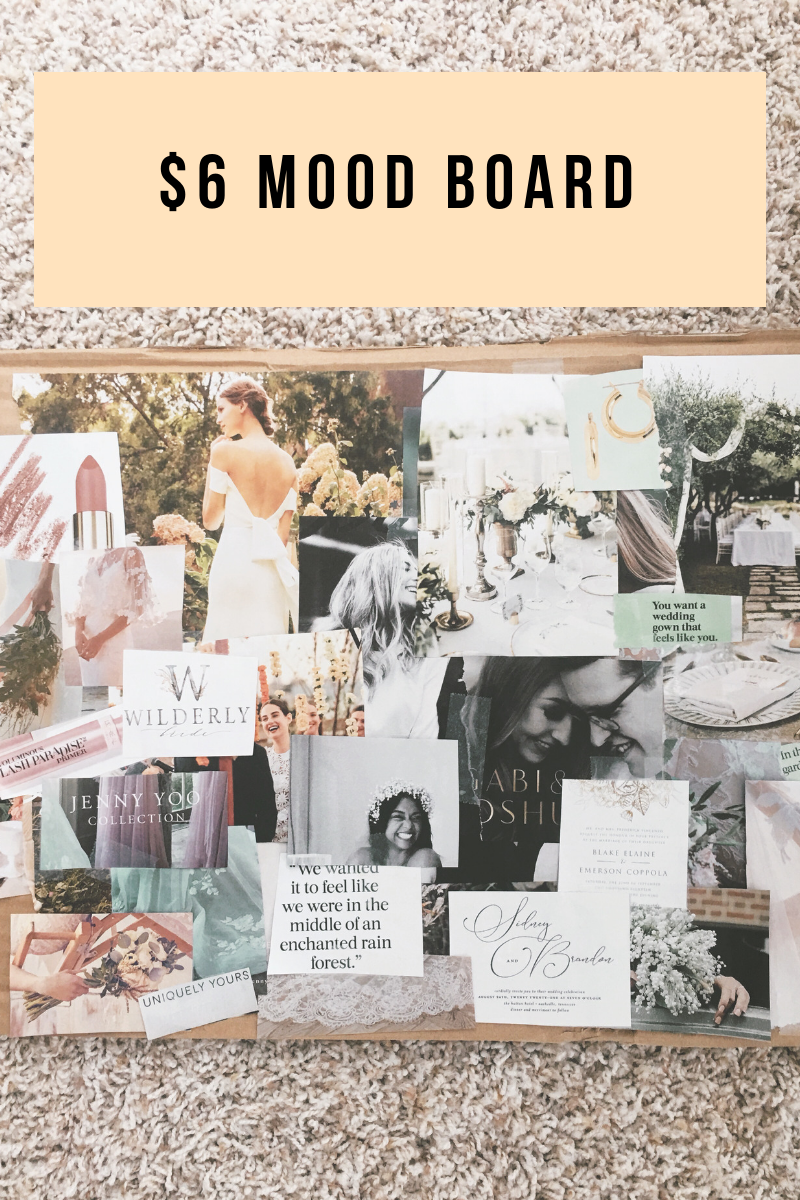
DIY: $6 Mood Board
It’s a rainy Sunday and I’ve been sittin’ cross-legged at the dining table with a Brides magazine and second cup of coffee. When we made our grocery run this morning, I might have lingered longingly in the magazine aisle for a second while Cam was searching for grilling supplies. (Found a magazine, did not find desired grilling supplies.)
I’m trying to take weekends slow – especially with my work weeks tending to air on the side of busy, fast, and go go go. Little craft projects, tidying up, and movies and popcorn are some of my favorite ways to take it slow. Post-putting away the groceries and pre-making lunch out of the leftovers in the fridge, I sat down to create this super simple, cheap DIY mood board!
I’ve been making mood boards since I was a teeny bopper with Tiger Beat magazine. (Those Taylor Lautner full page spreads – anyone? Swoon.) I used to print out pictures to decorate each of my binders for Language Arts, Science, and U.S. History. It’s fun, it’s relaxing, and it doubles as a good dose of inspiration.
All I spent for this DIY was $5.99 to buy the magazine! Mine was a bridal magazine since we’re in the beginning stages of planning a wedding for next November, but yours could be Bon Appetit for yummy recipes, Glamour for fashion and beauty tips, pictures you’ve printed out from Pinterest, etc. Make it yours!
I’m gonna go through step by step how I made this mood board, but spoiler alert: it’s stupid easy!
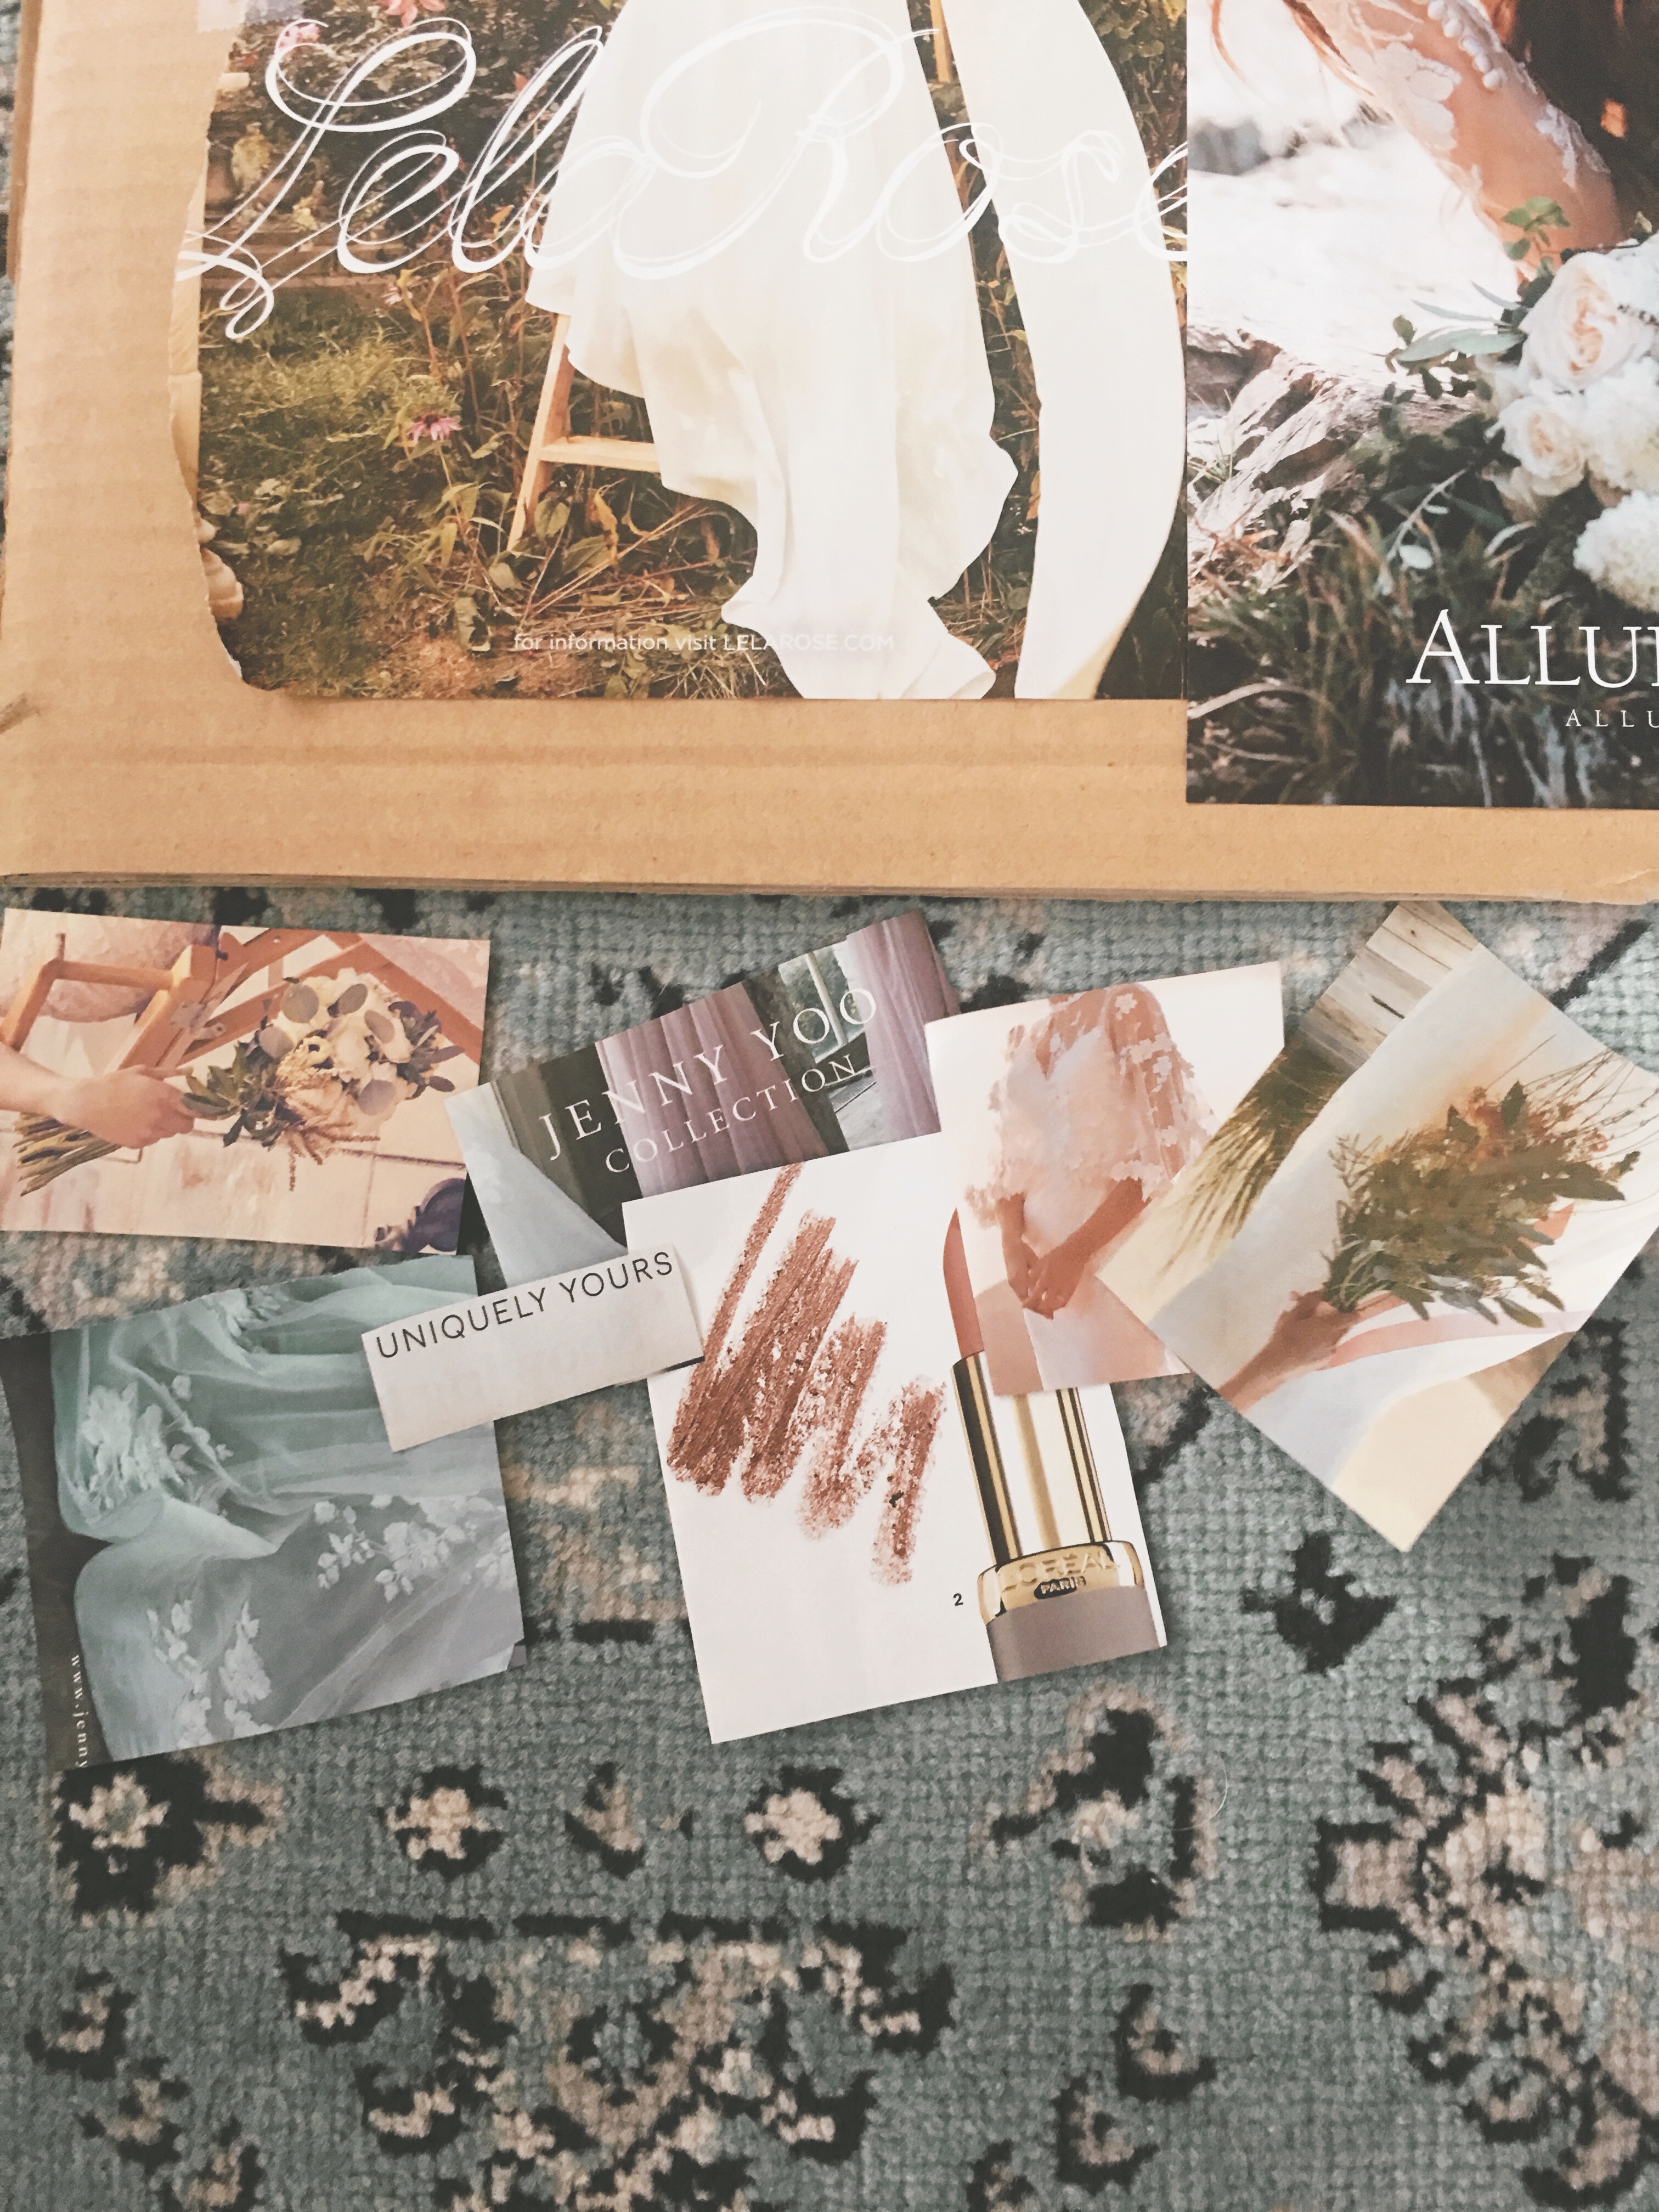
Step 1:
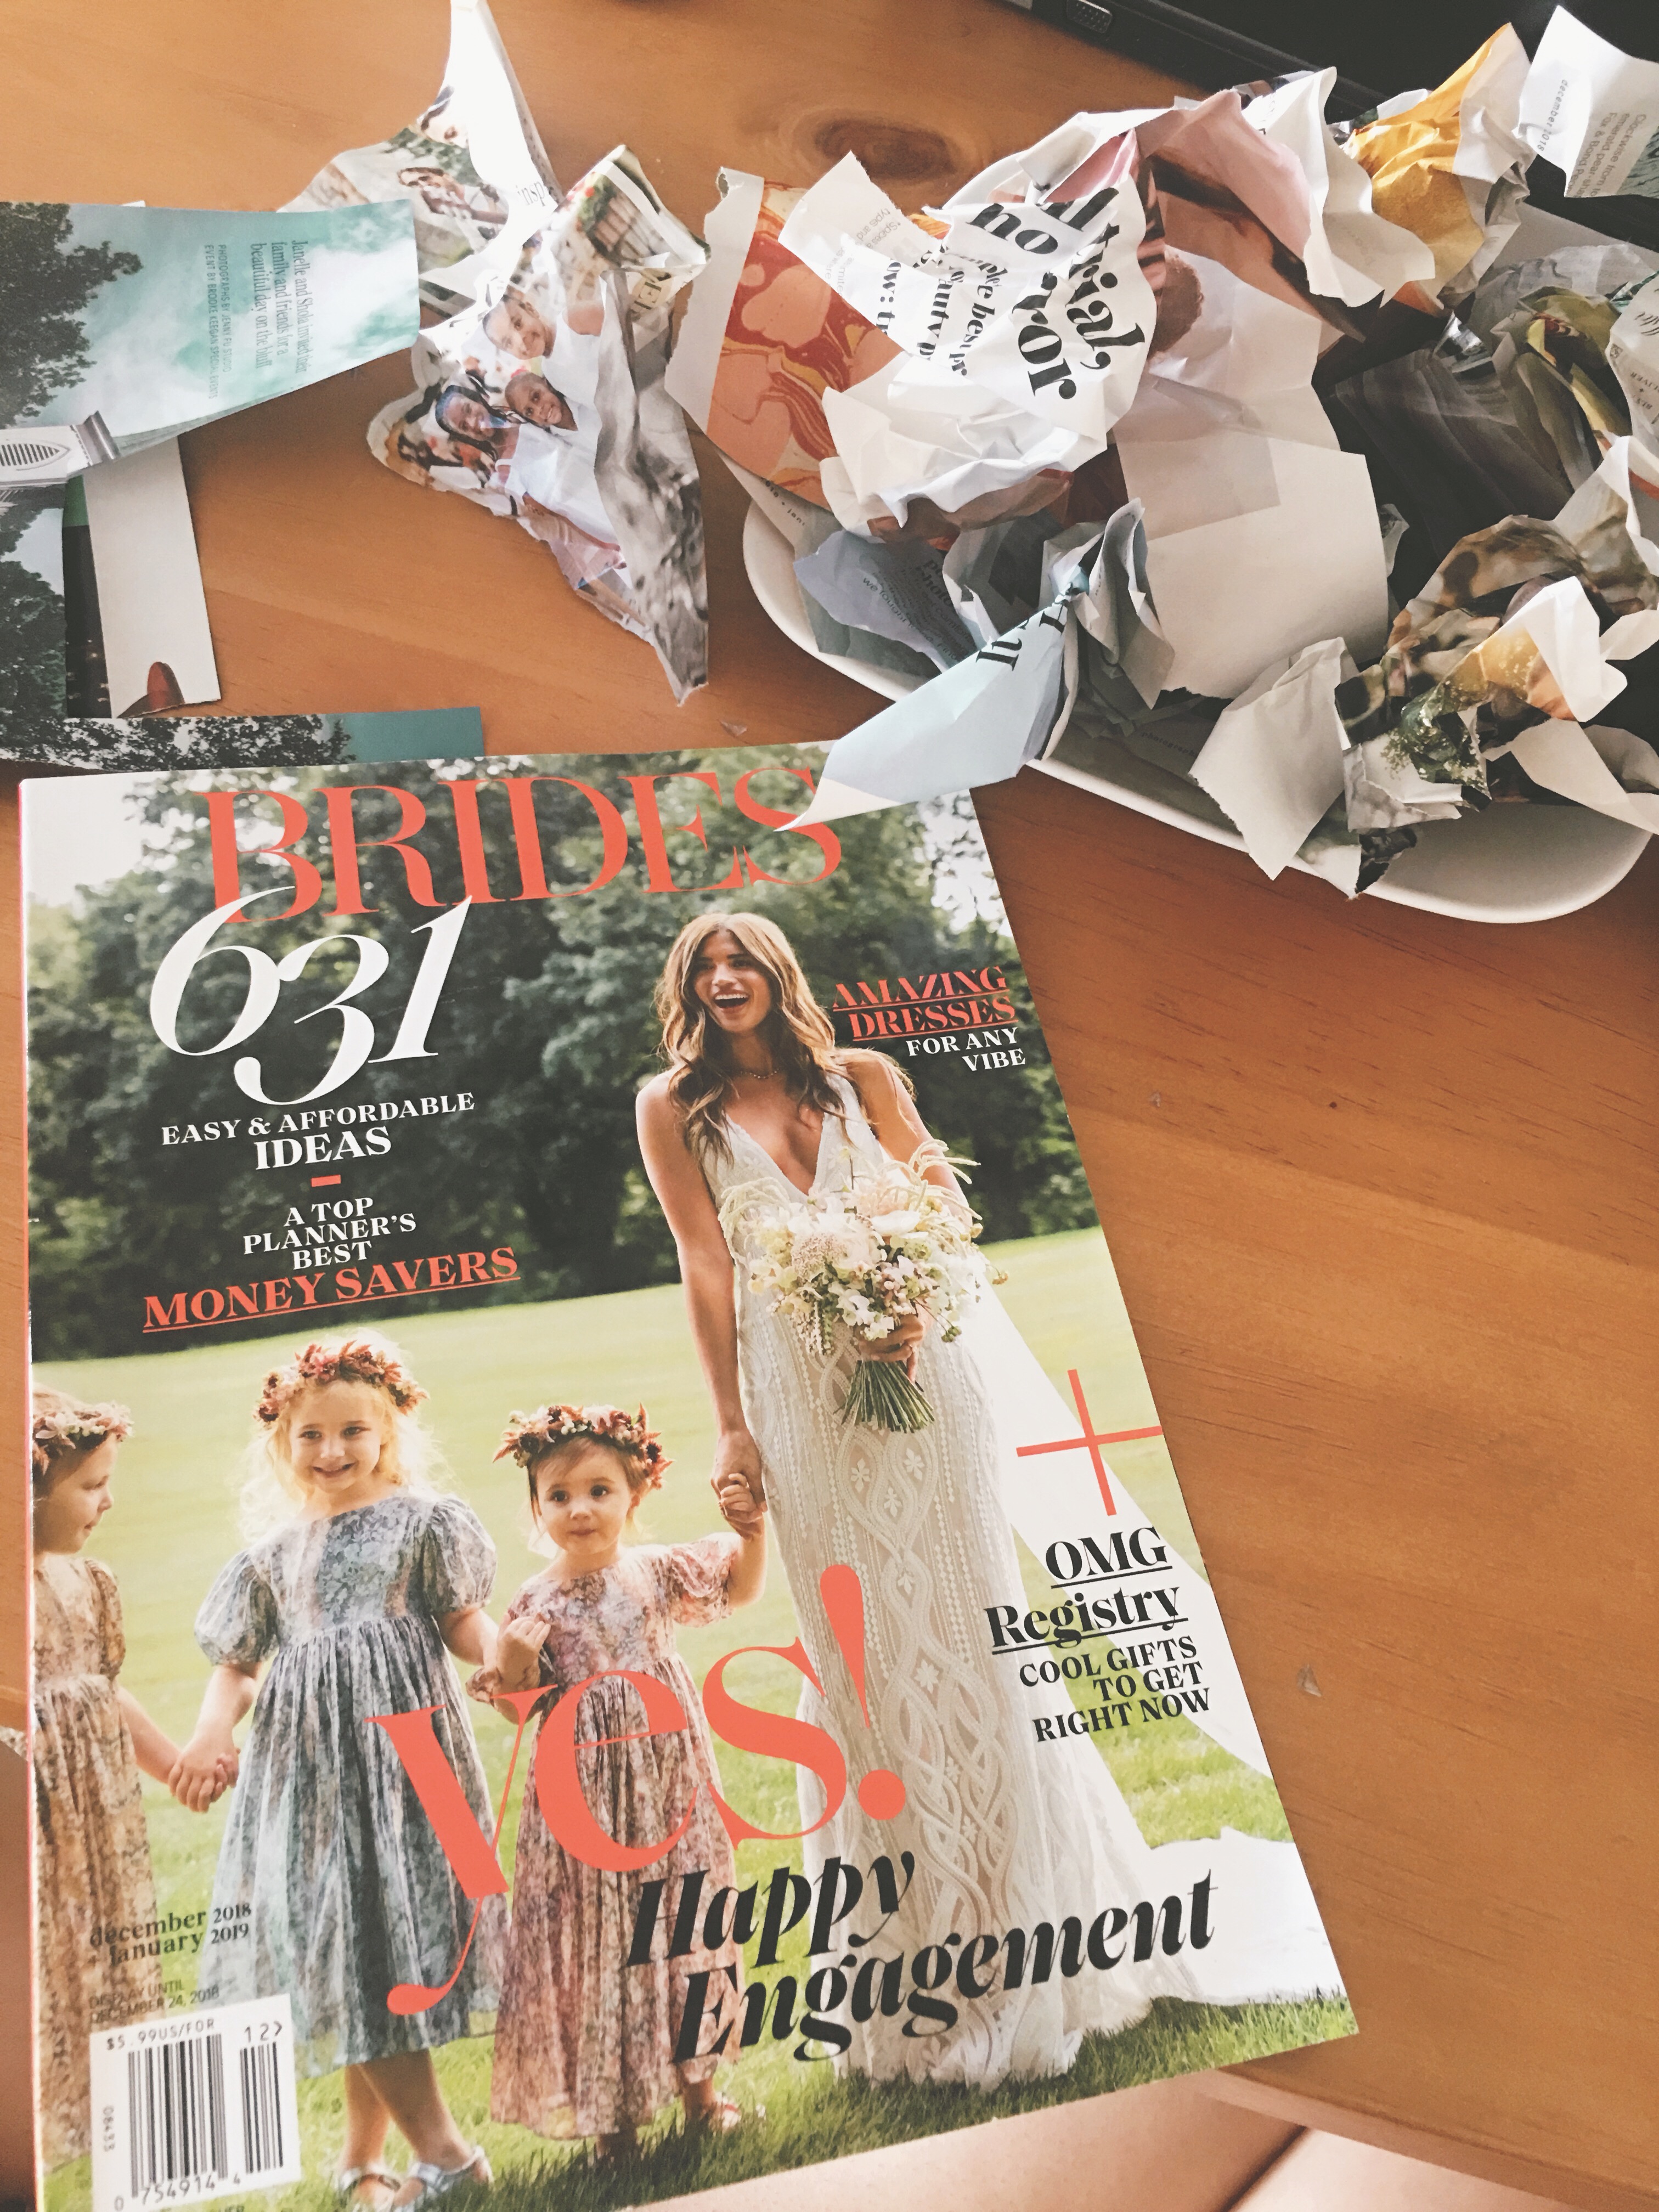

Flip through the magazine, read the articles, then cut out inspiring images and quotes! I was mainly looking for wedding styles that matched my vision in terms of decor, dresses, beauty, etc.
Step 2:
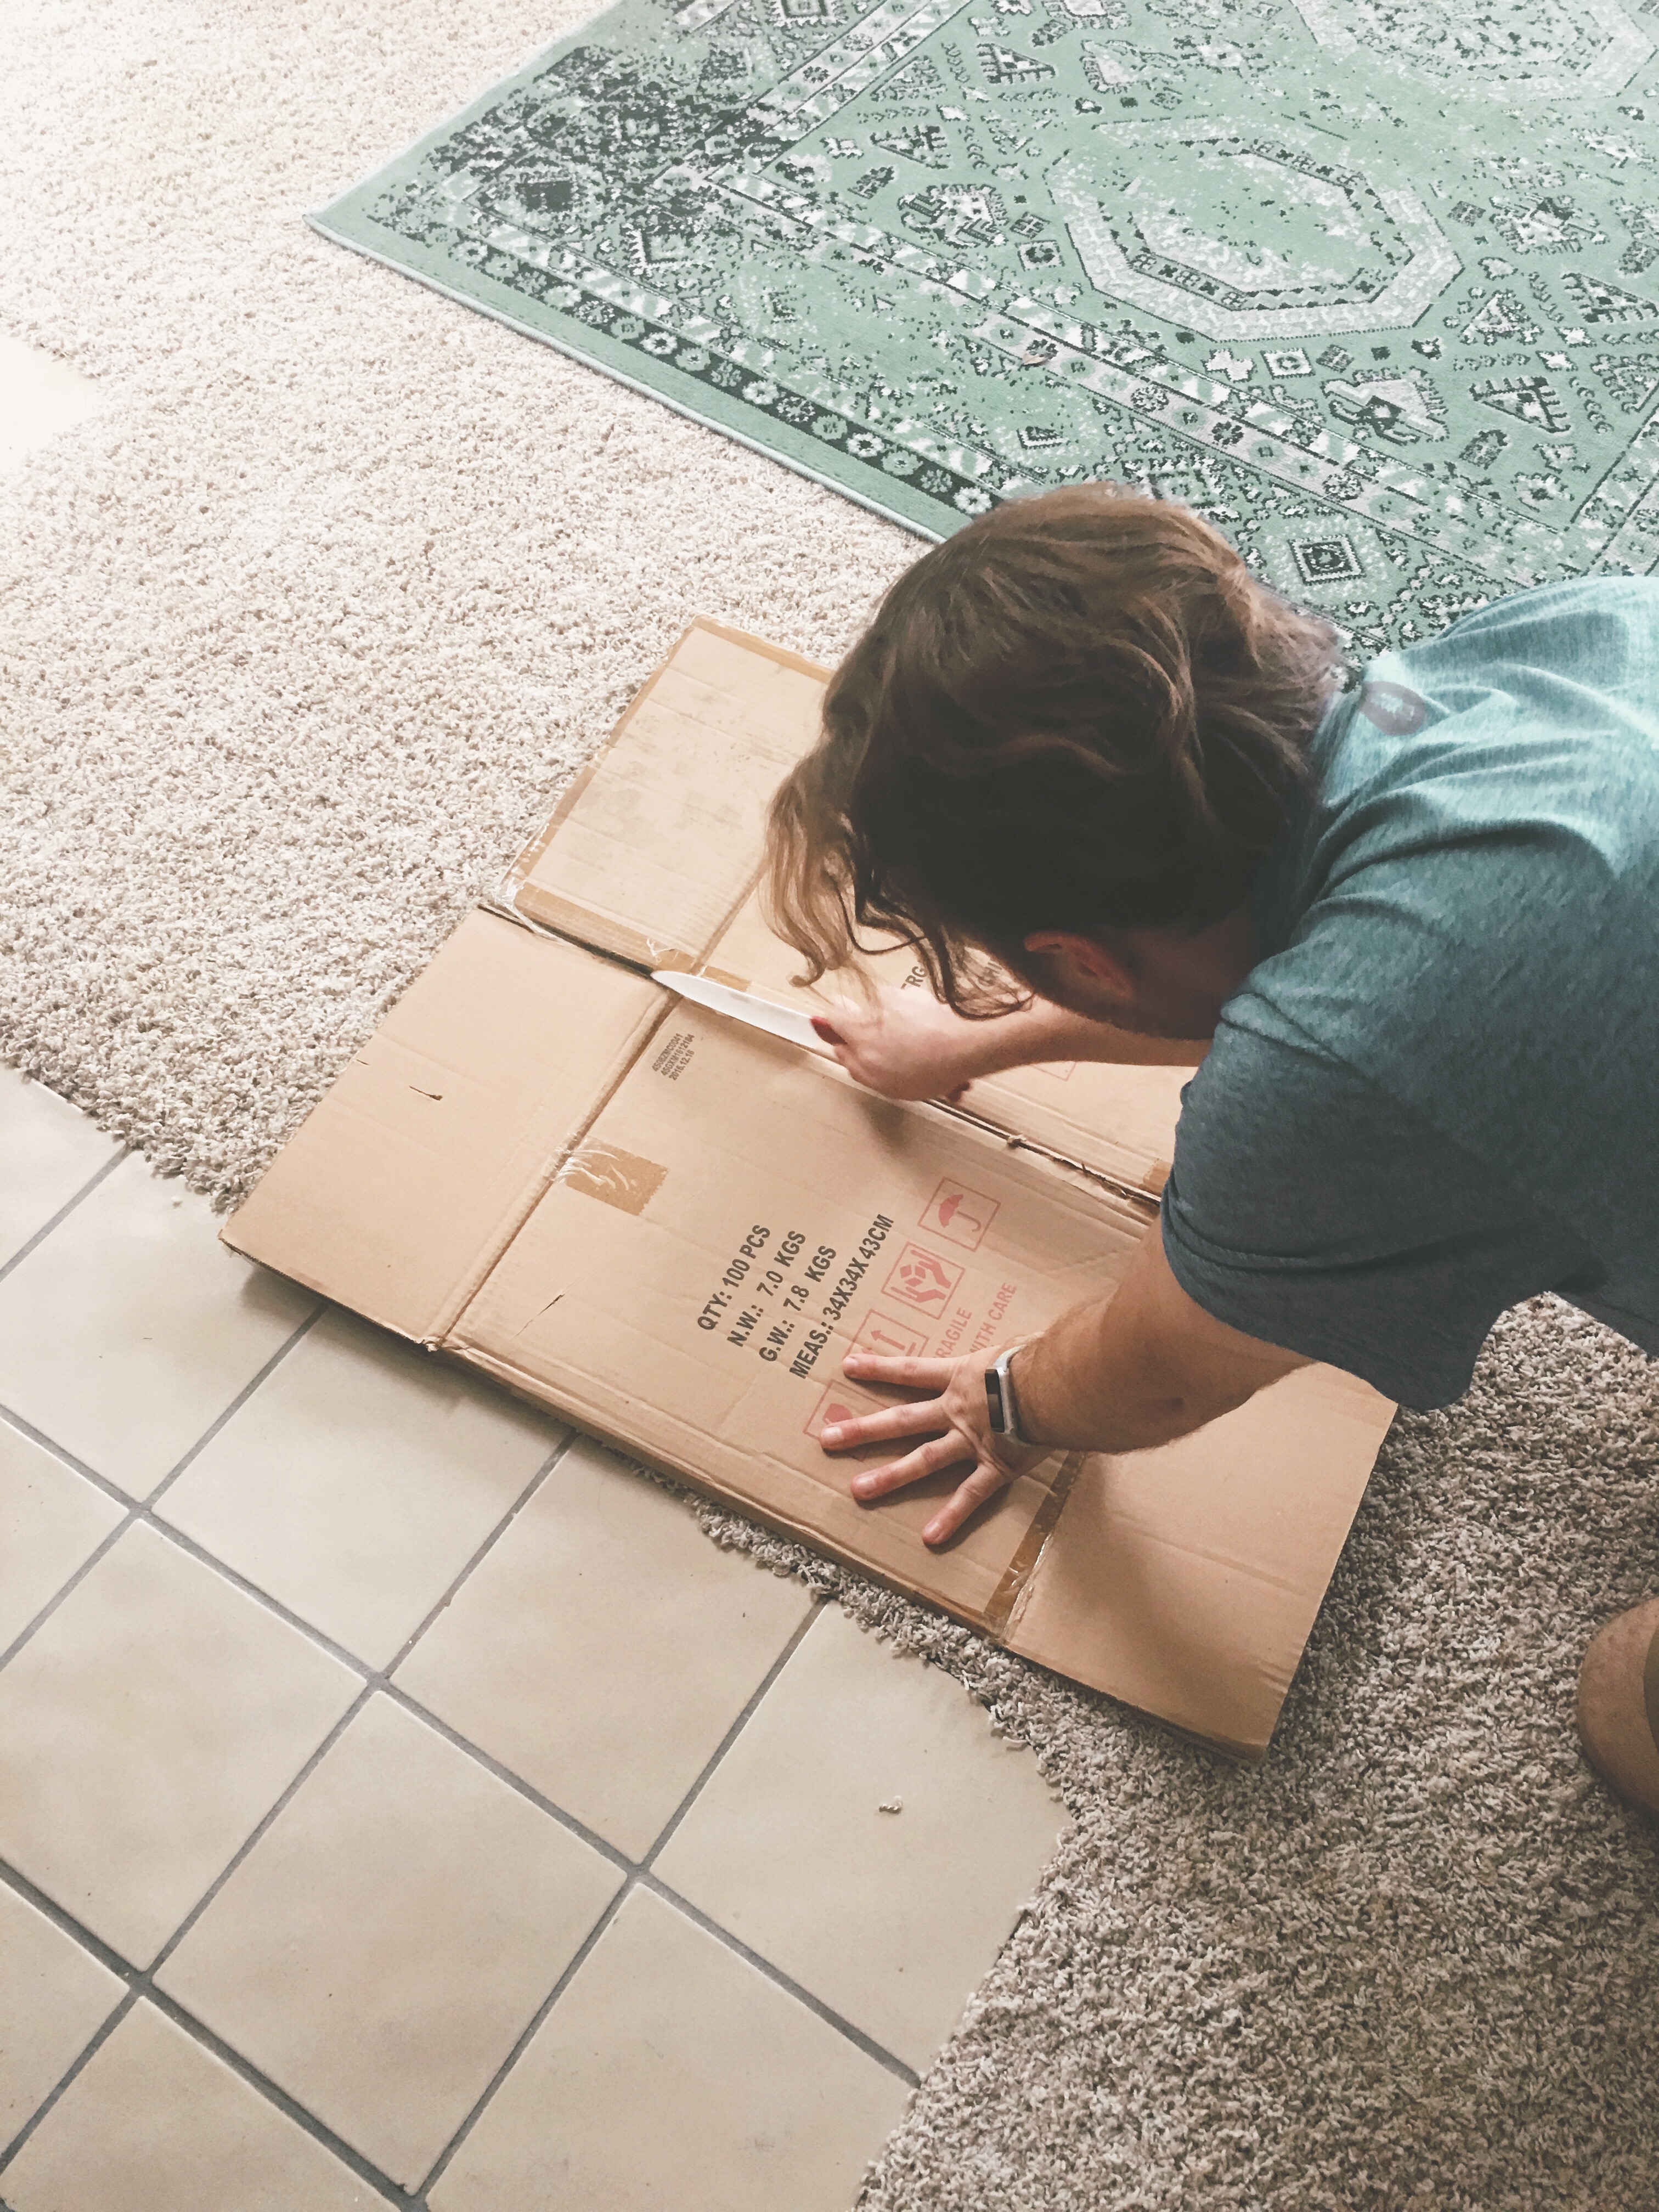
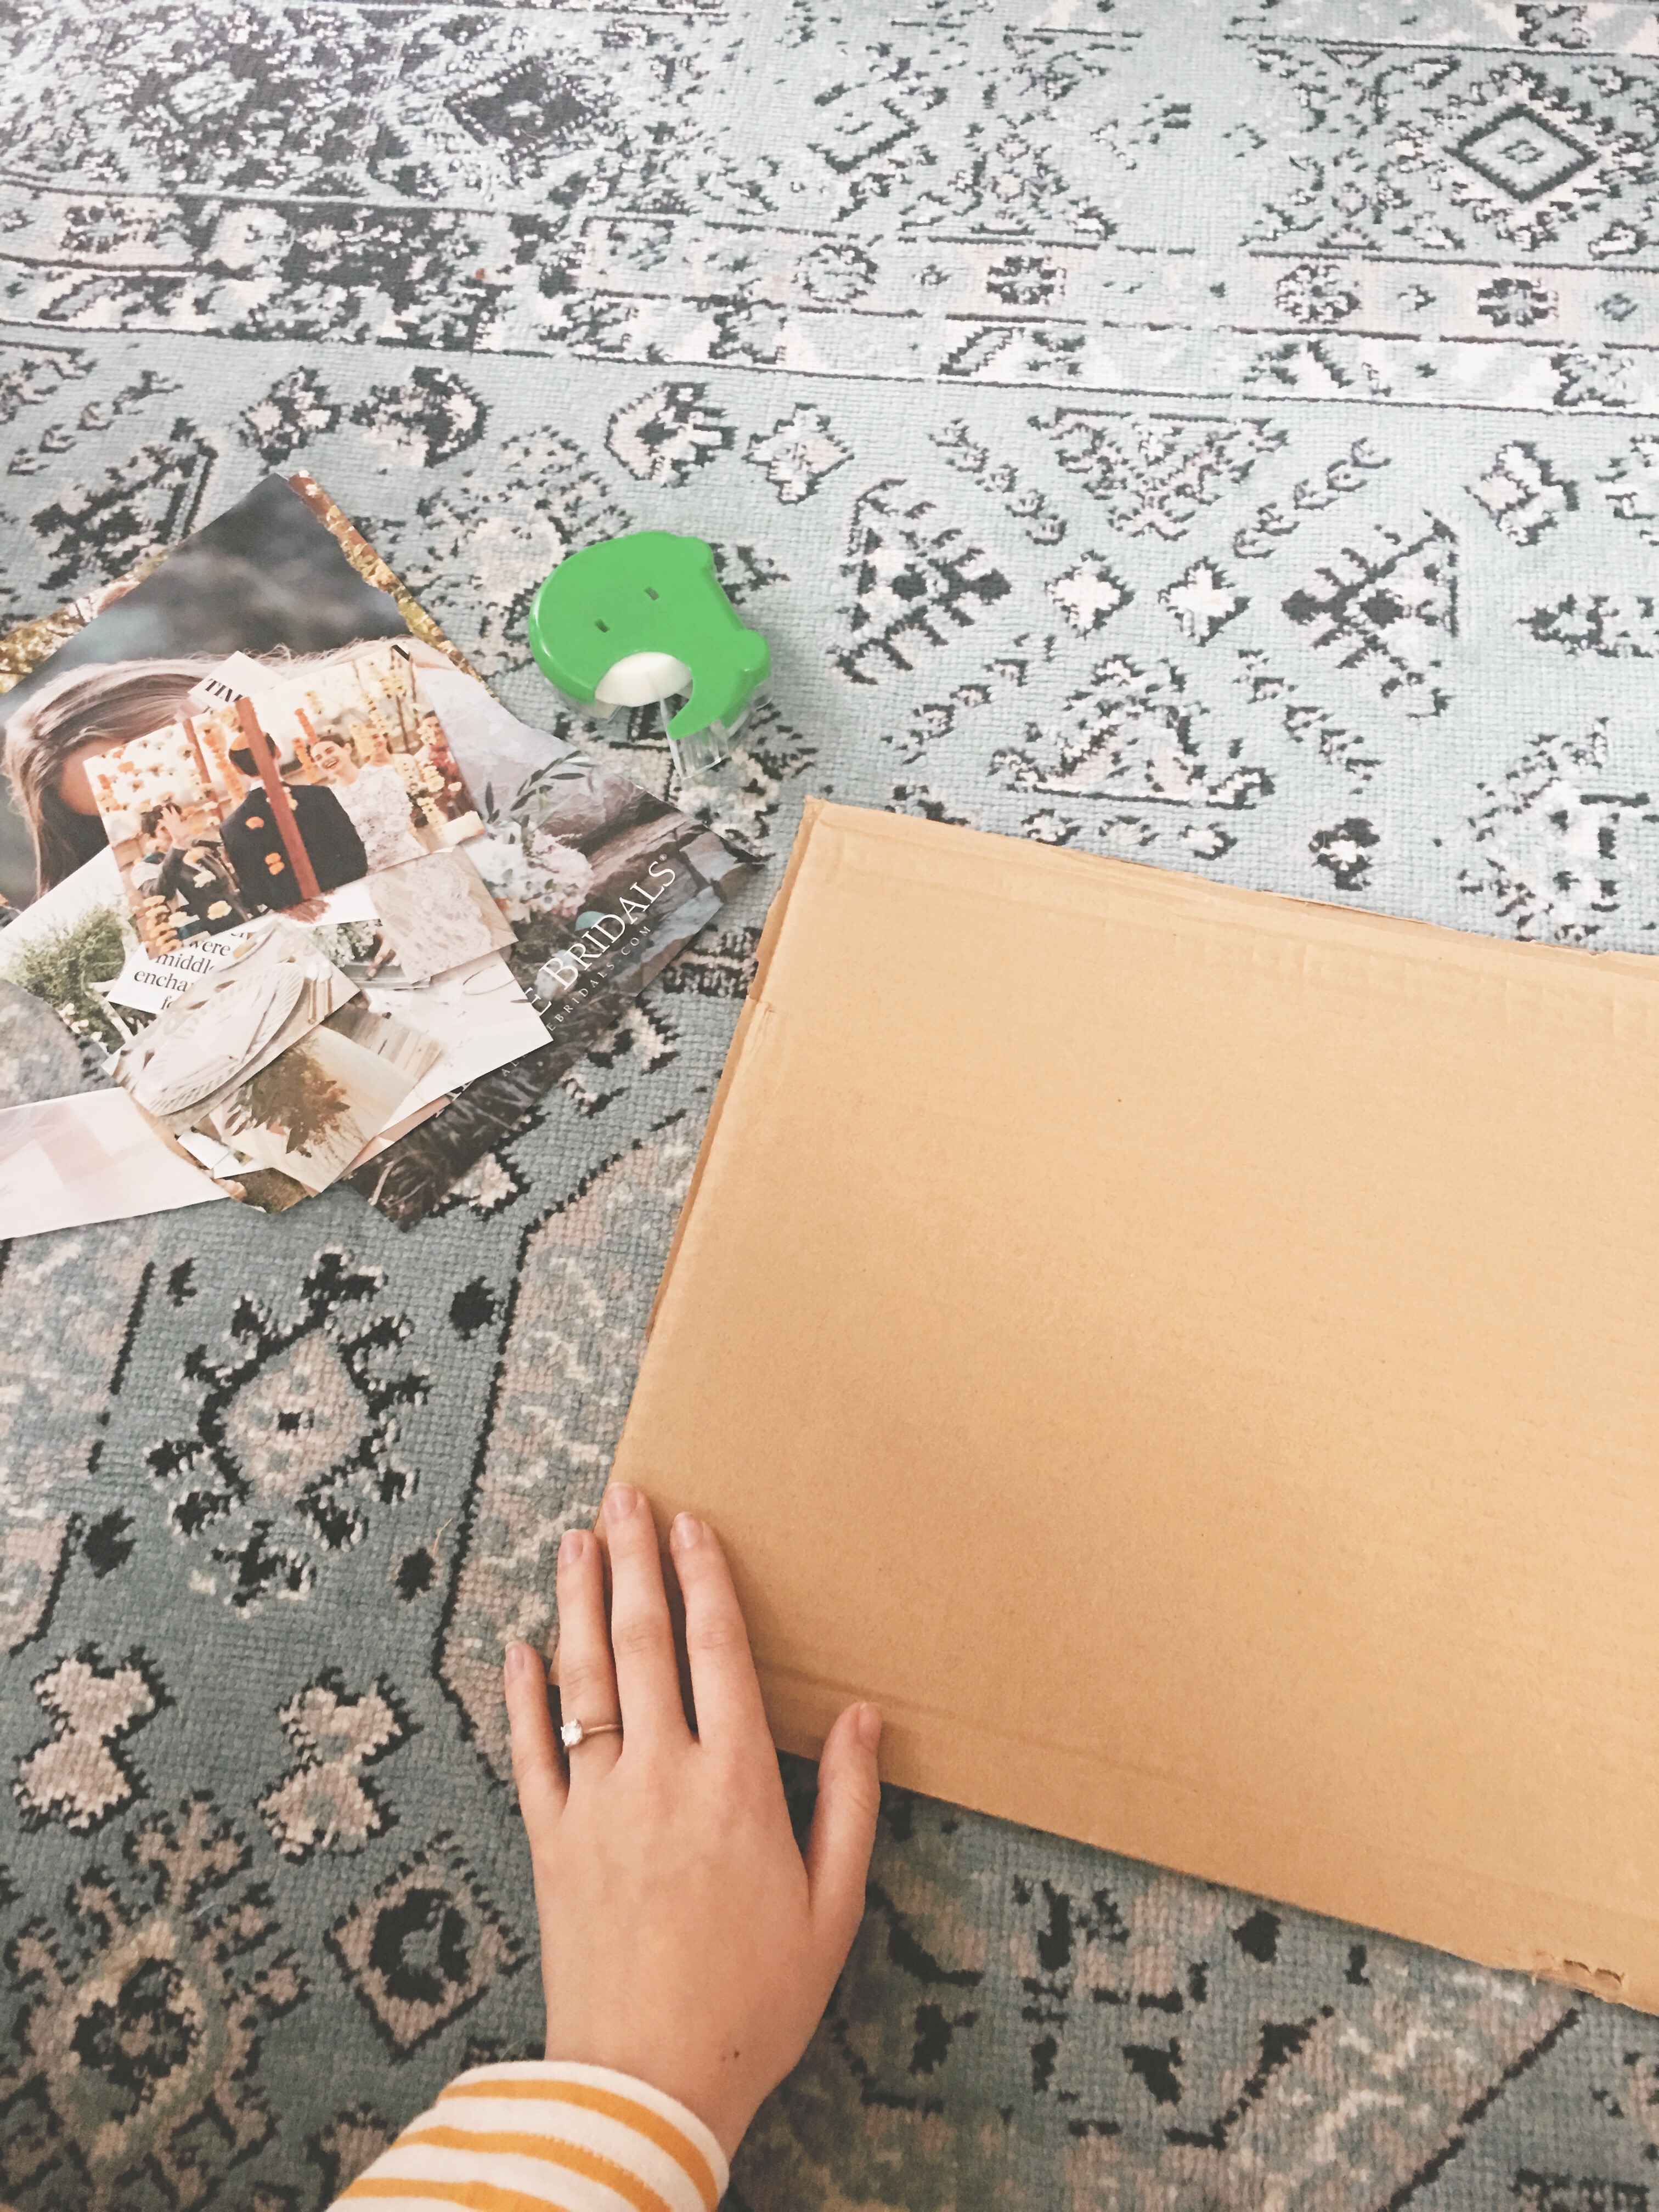
Get your board! For an upgrade, you could use a cork board and thumb tacks. I’ve gotten both of these items at Walmart before for pretty cheap. I had some cardboard boxes laying around, so I cut part of one to be my board. (Read: a cutie fiance boy cut it because I’m a butterfingers with sharp objects.)
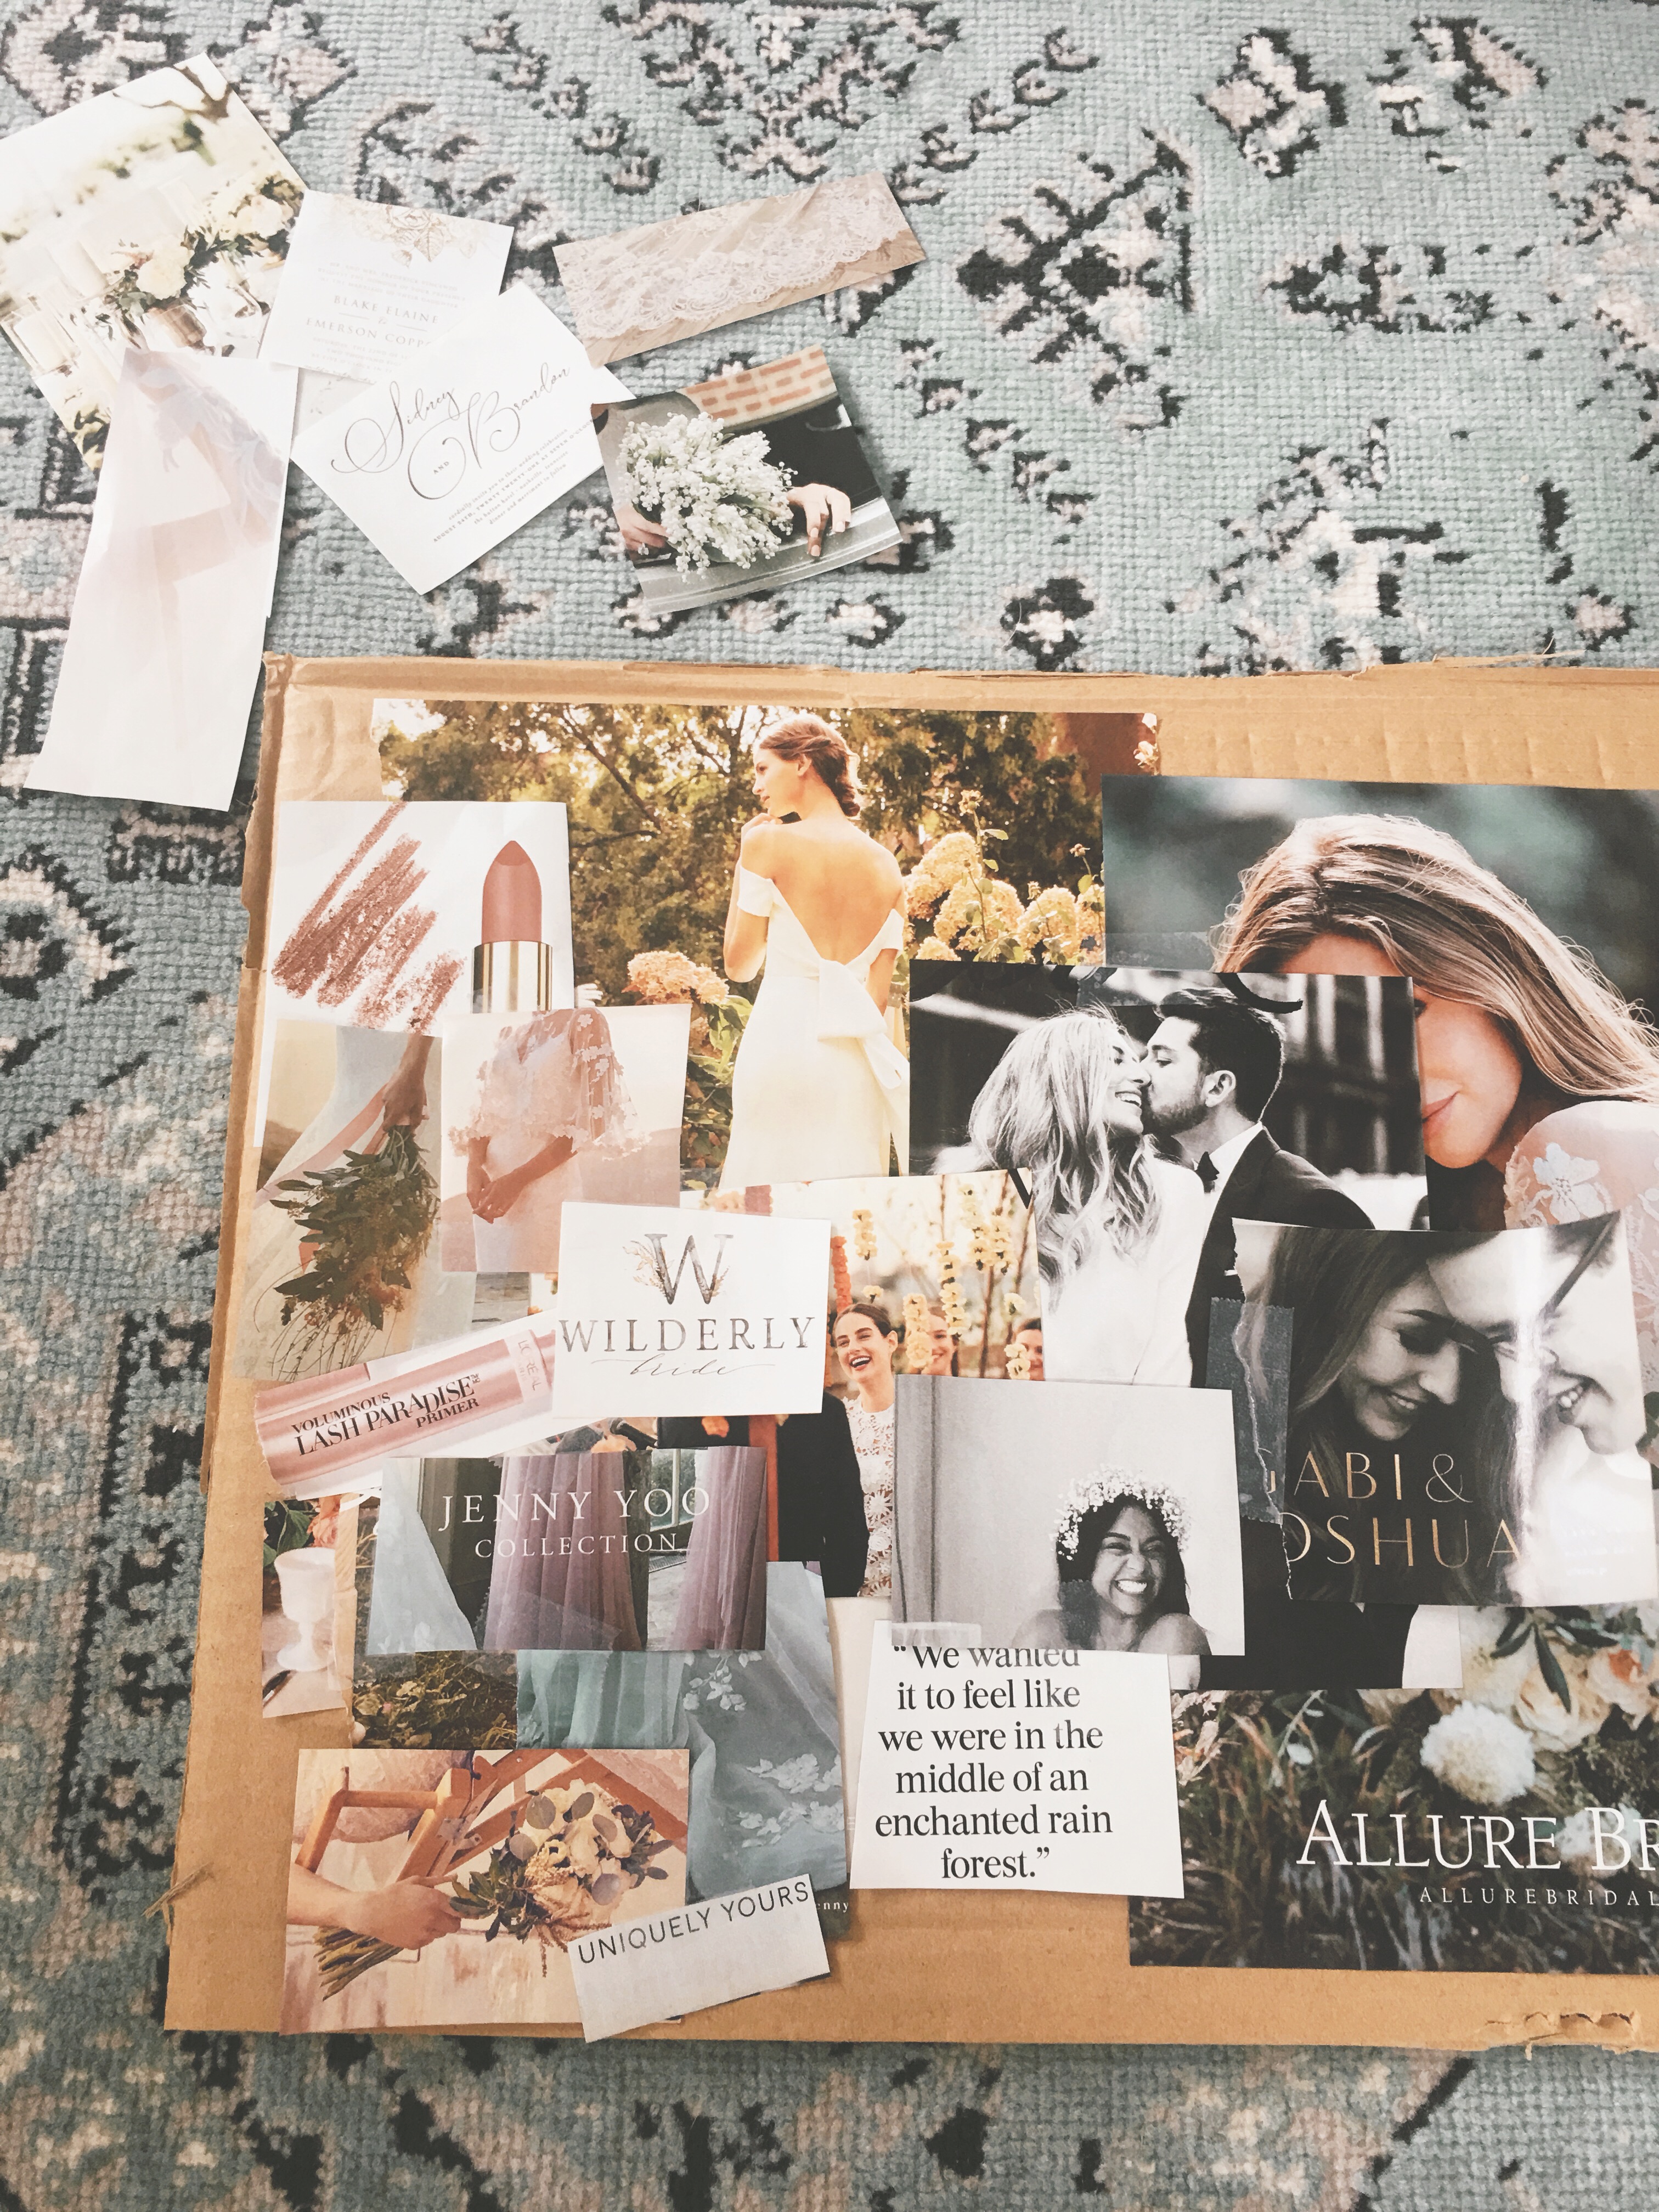
Step 3:
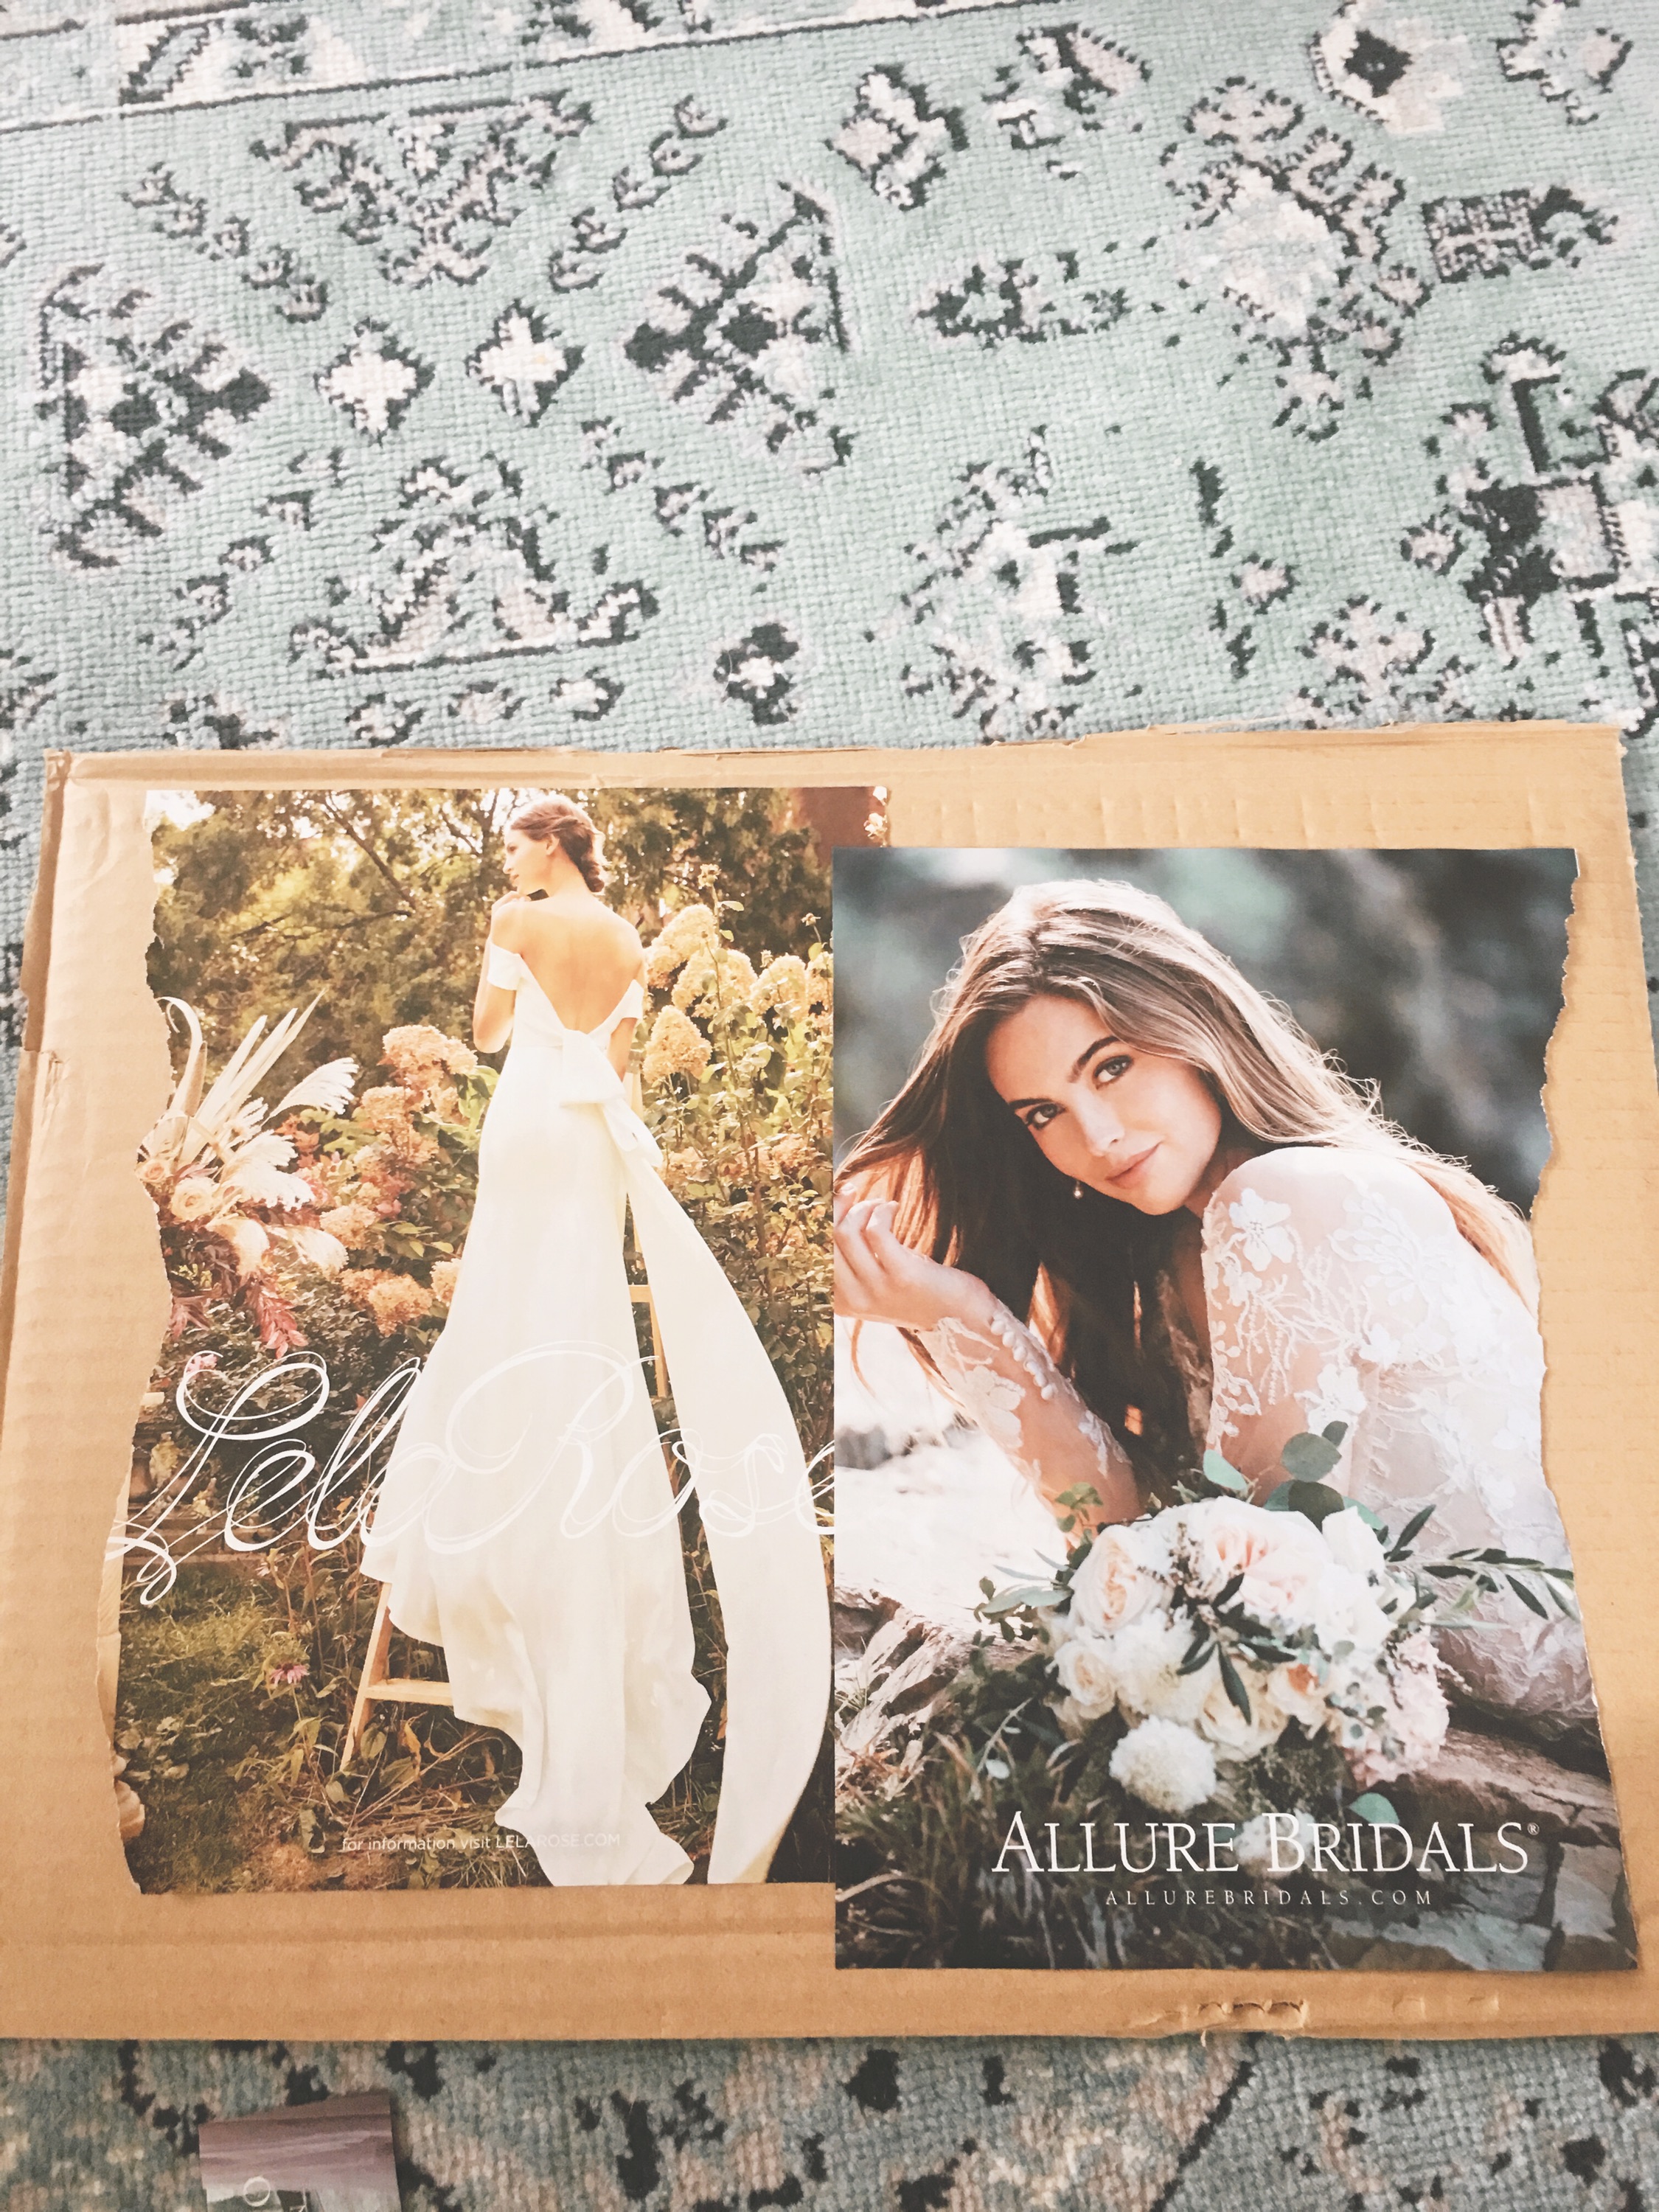
Add your biggest pieces first. These will be the “back drop” of the mood board since they take up the most space.
Step 4:
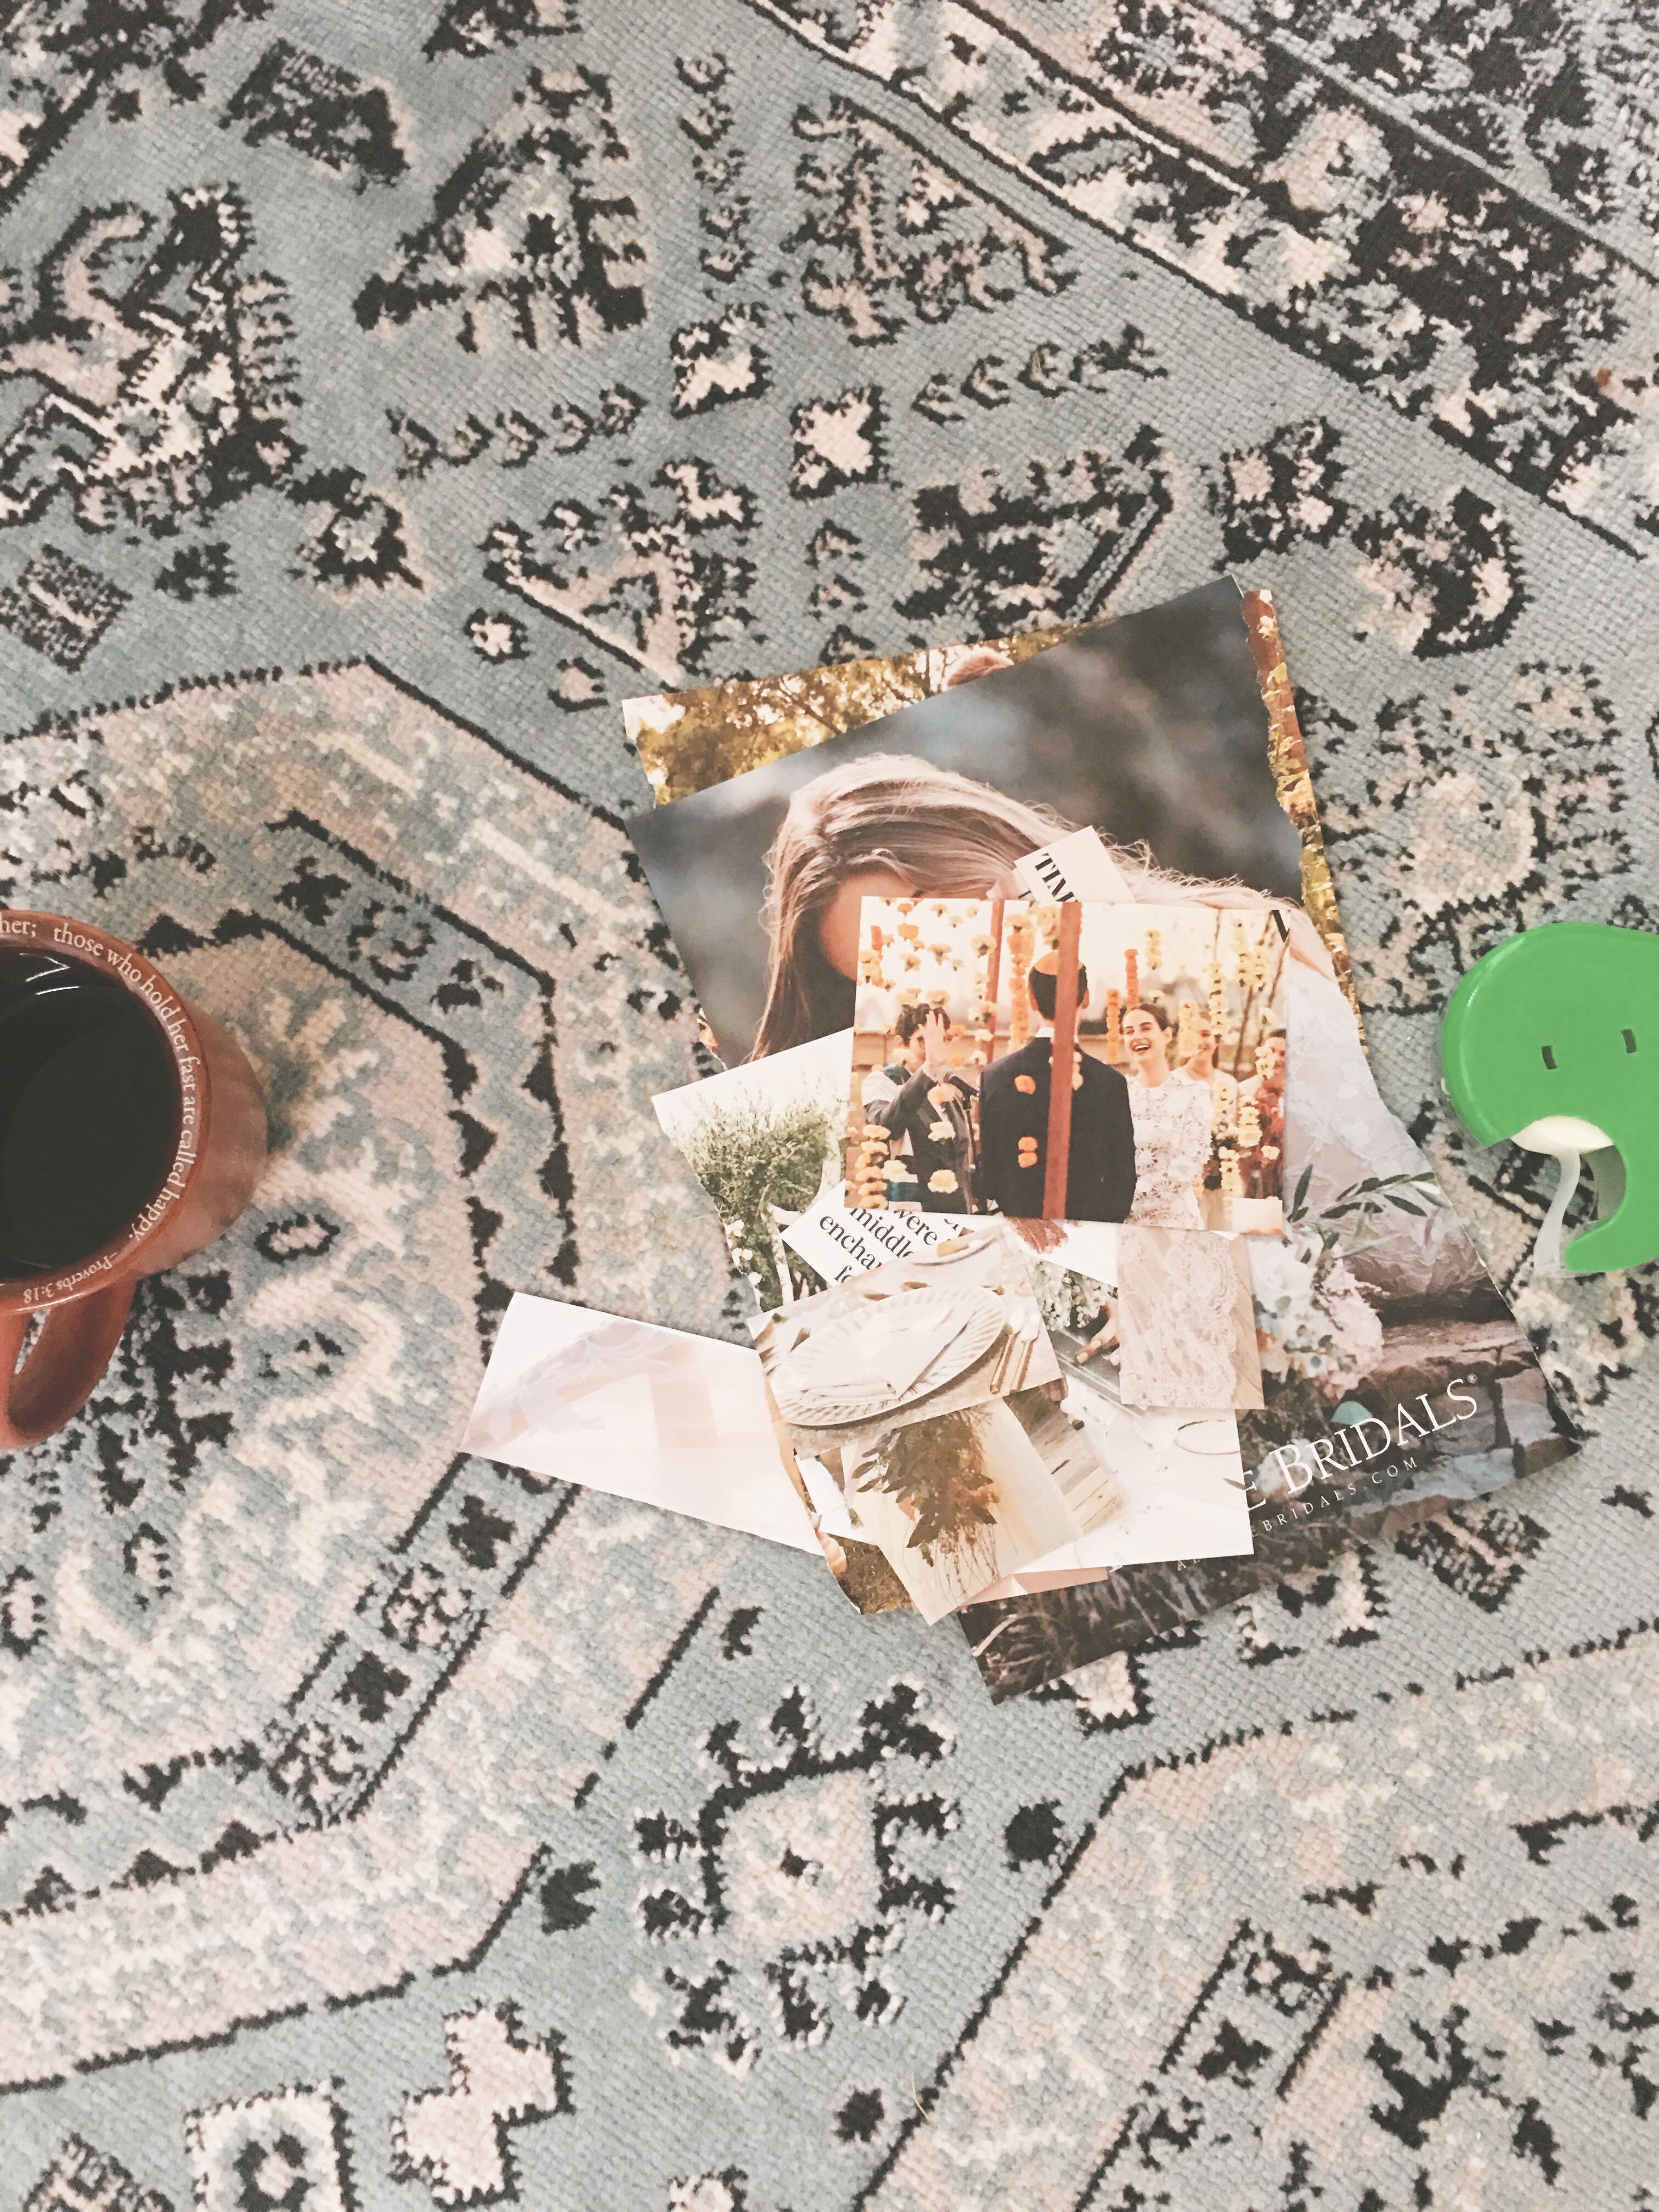

Group your cut outs by color/style as I’ve done here. This will help you see aesthetically which pieces will look best where – like a puzzle!
Step 5:
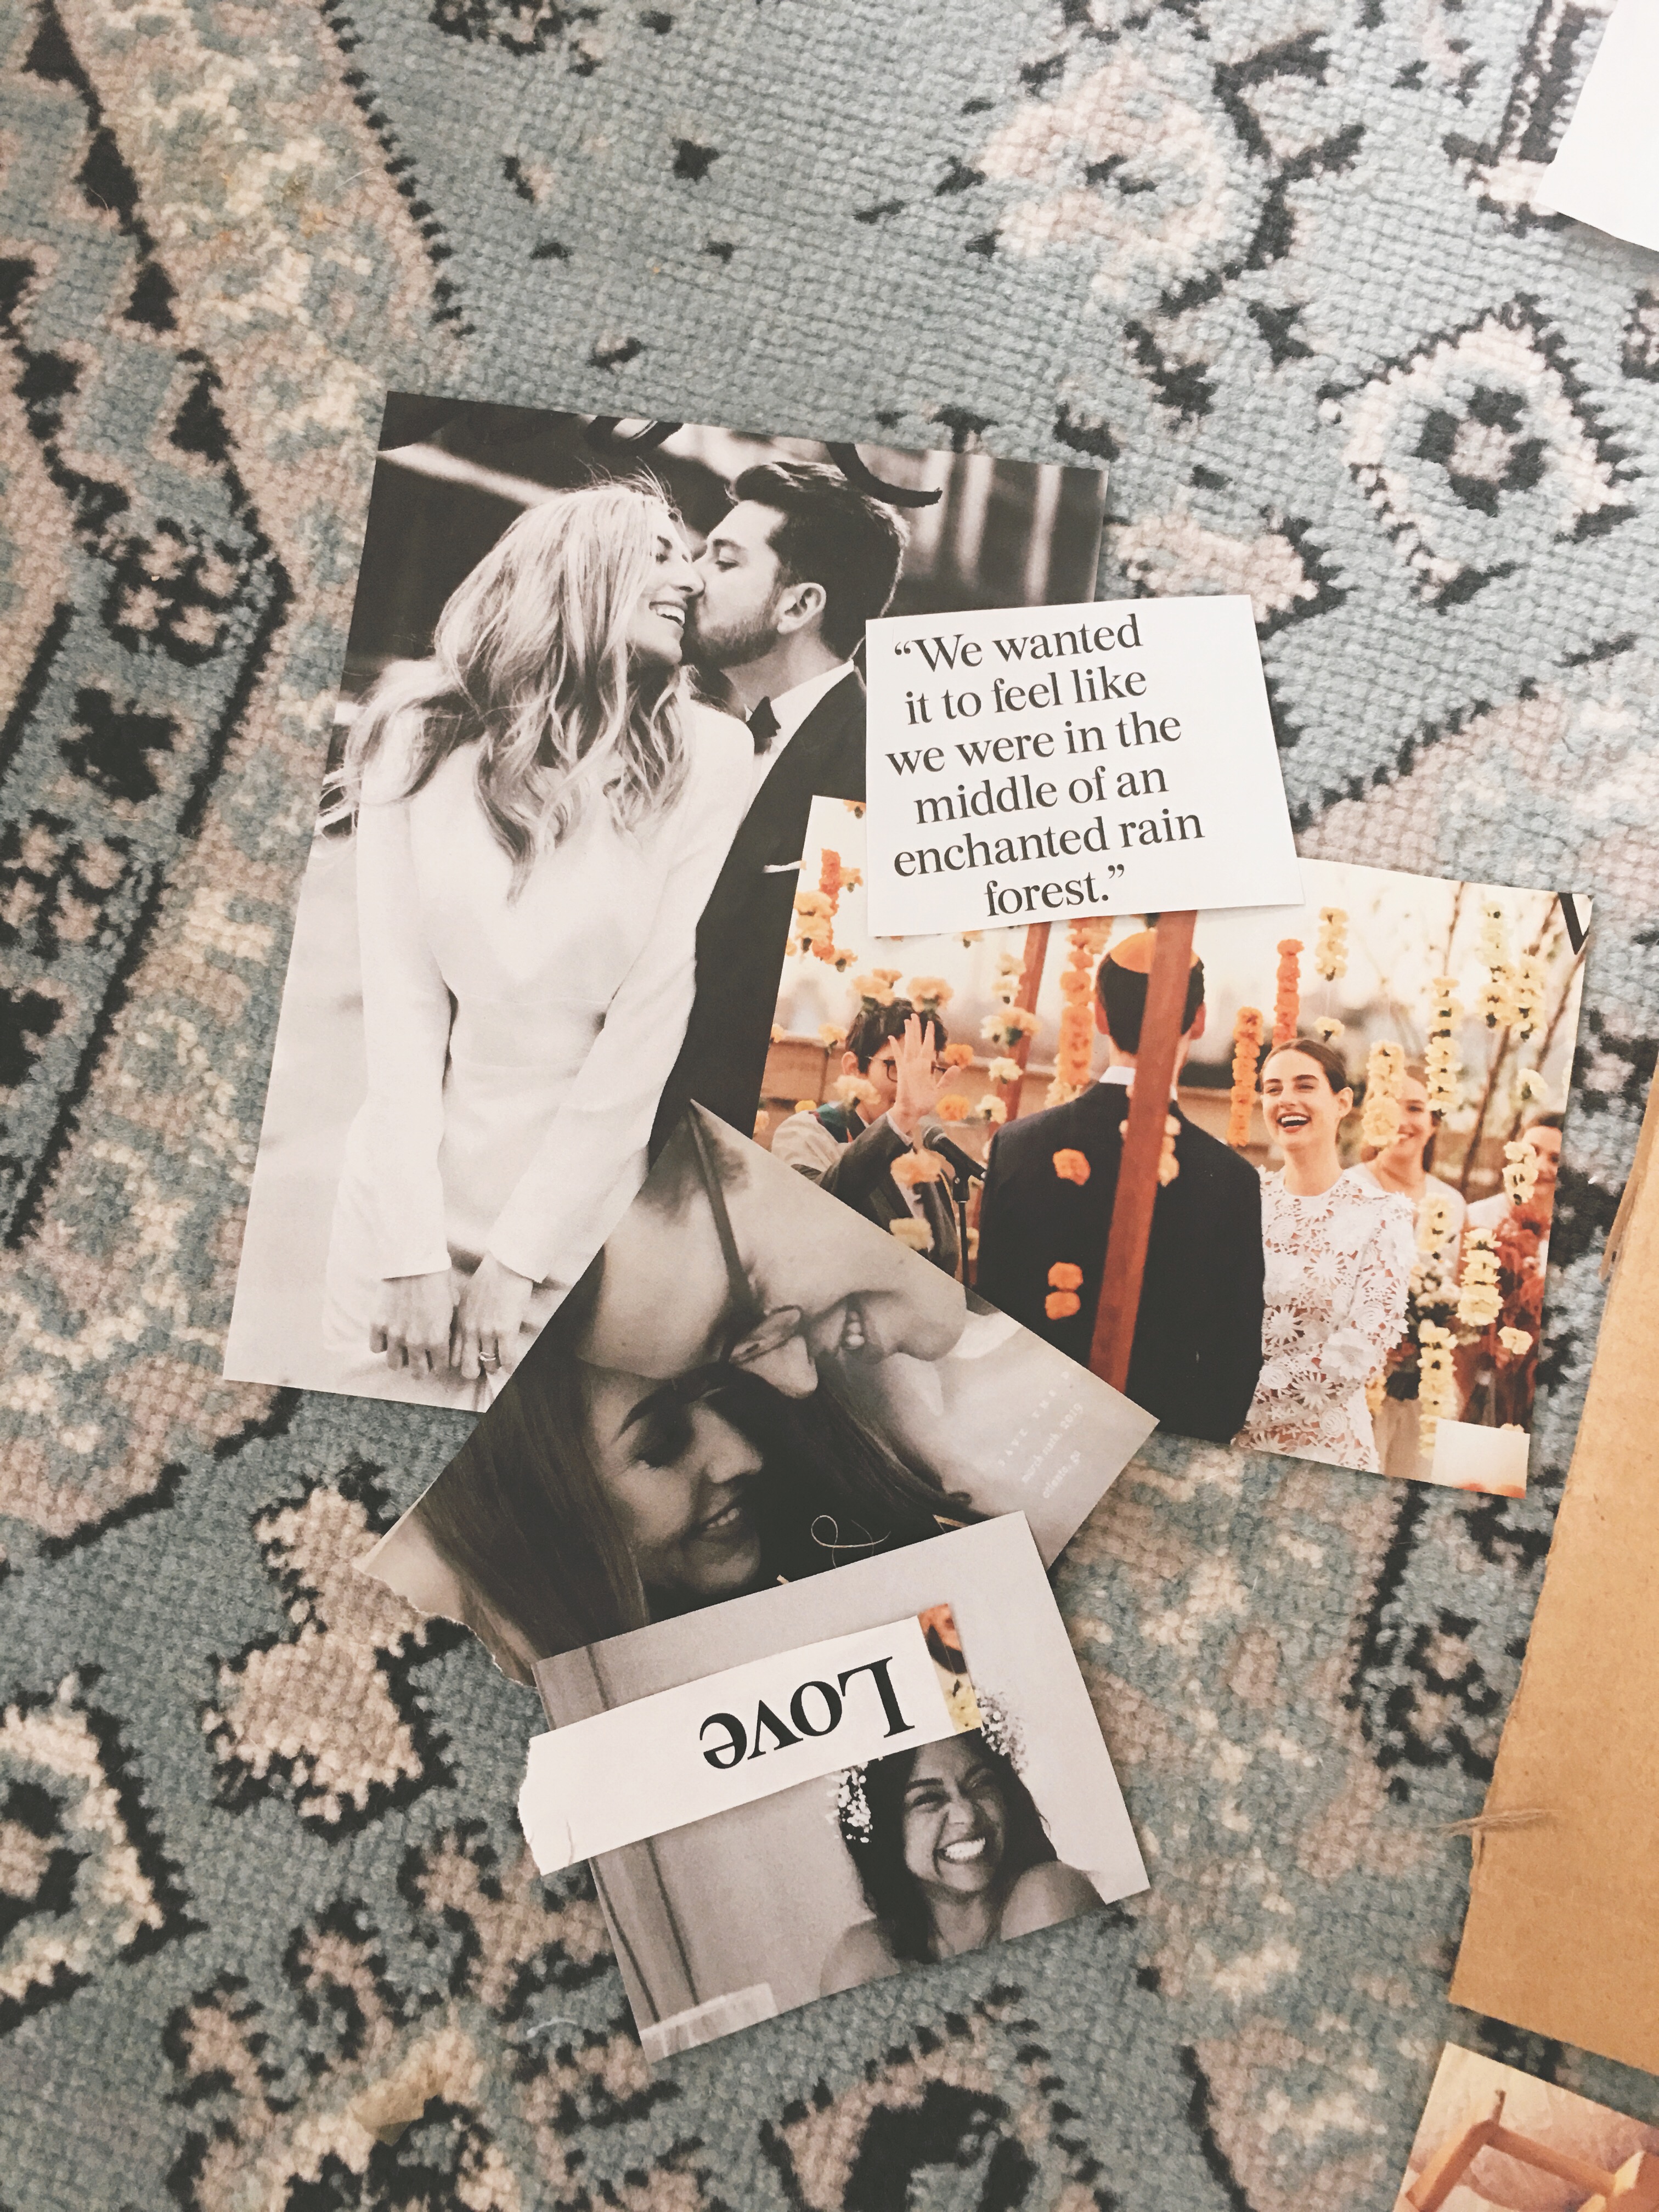
Begin to paste/tape/tack the pieces on, grouping according to color/style. As you can see here, I’ve had more minimalistic and/or black and white images pieced together and the jewel-tones together…and so on. (A glue stick would have been great, but I only had tape!)
Step 6:
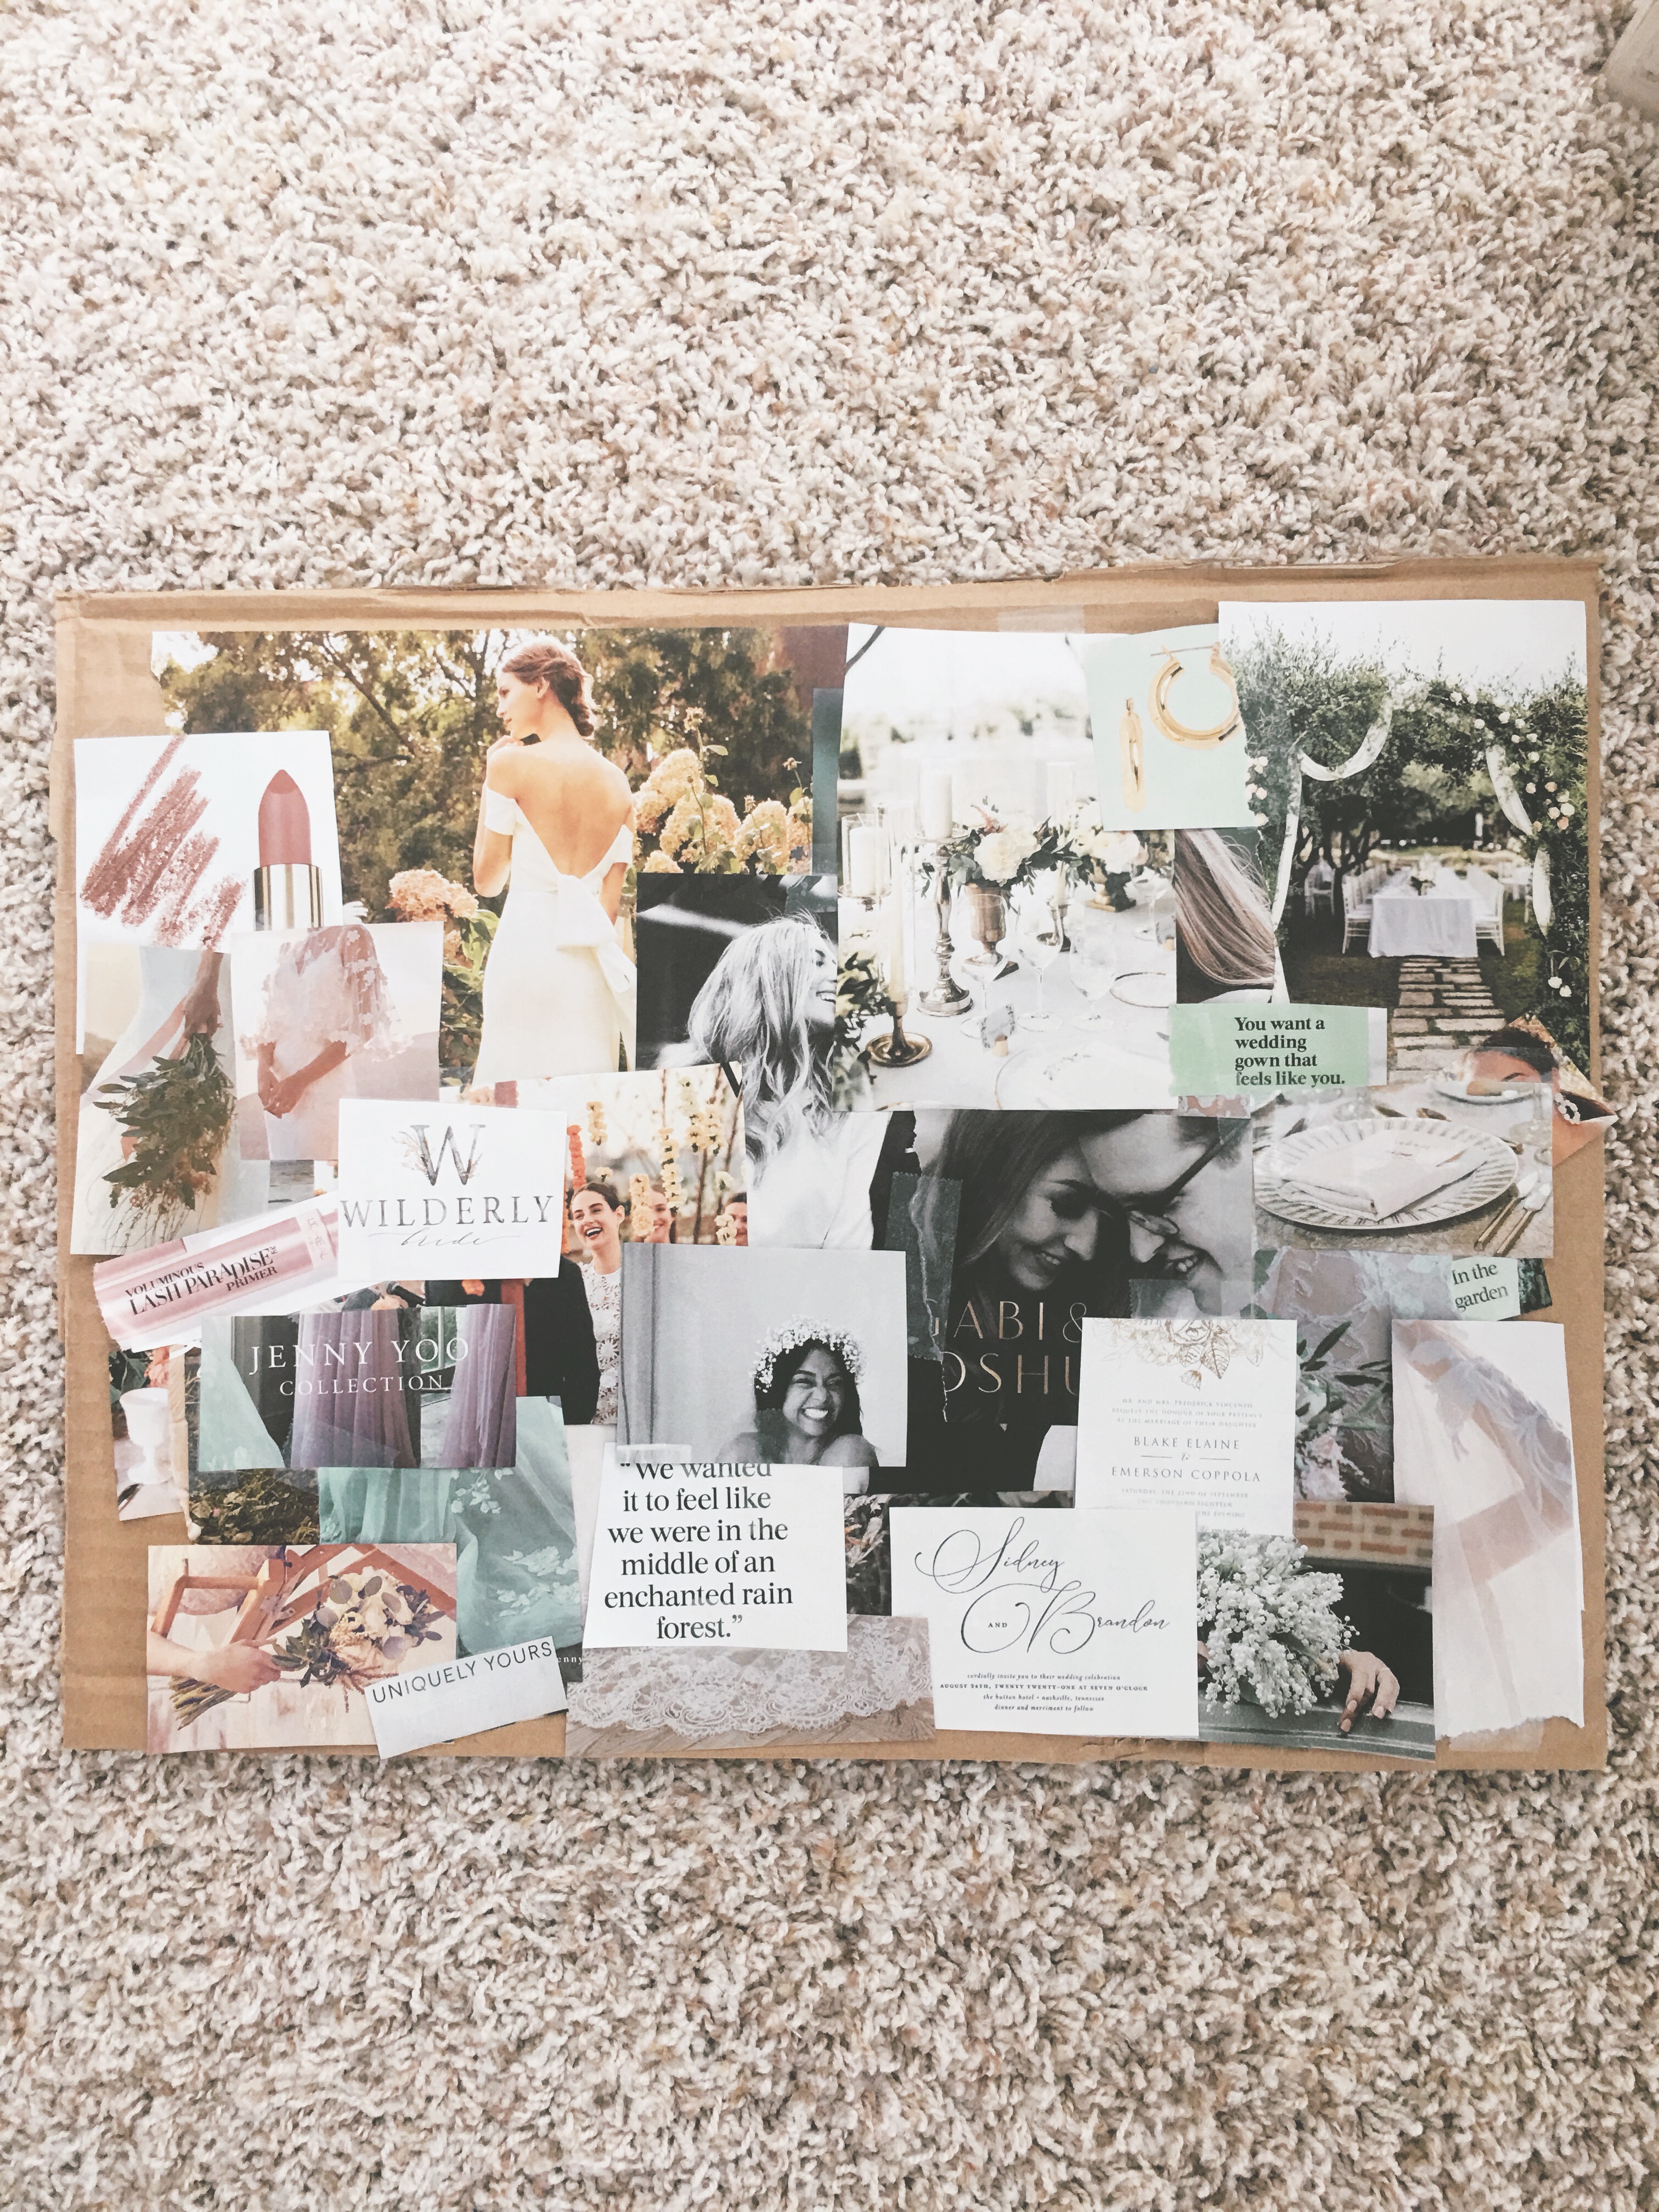
Voila! That’s pretty much it. You could add other elements such as dried flowers, movie tickets you’ve collected this month, real photos of you/things you love, fabric samples, etc.
I love this craft because it’s cheap and serves and inspiration and decoration. I’ll probably keep this on the desk in the guest bedroom. You can do yours how you’ll love it! If you make it, DM on Instagram or something so I can see!
X,
Cristina