
Last Minute Holiday Cards: Free and Fast!

I think sending holiday cards is one of the best ways to spread the holiday cheer, but let’s face it – if you’ve just crammed for 5 finals and have made the trip home for break, you probably didn’t have time to design one your self or visit the convenience store printer.
I made mine in about 10 minutes with Picmonkey (totally free!!), so for this month’s #galpalholiday linkup, I’m showing you how you can, too!
1. Go to picmonkey.com and choose your template on the design button. I did the 8×10!

2. You can keep the template as is or you can rotate it to make it horizontal, like I did. Simply go to the “rotate” option on the “Basic Edits” icon.

3. Next, import the picture you want to use for your card by clicking the butterfly icon for overlays and clicking “your own”.
Find the picture you want from your computer and double click!

4. Click on your picture and move it around to your liking. I wanted some white space for designs and text.

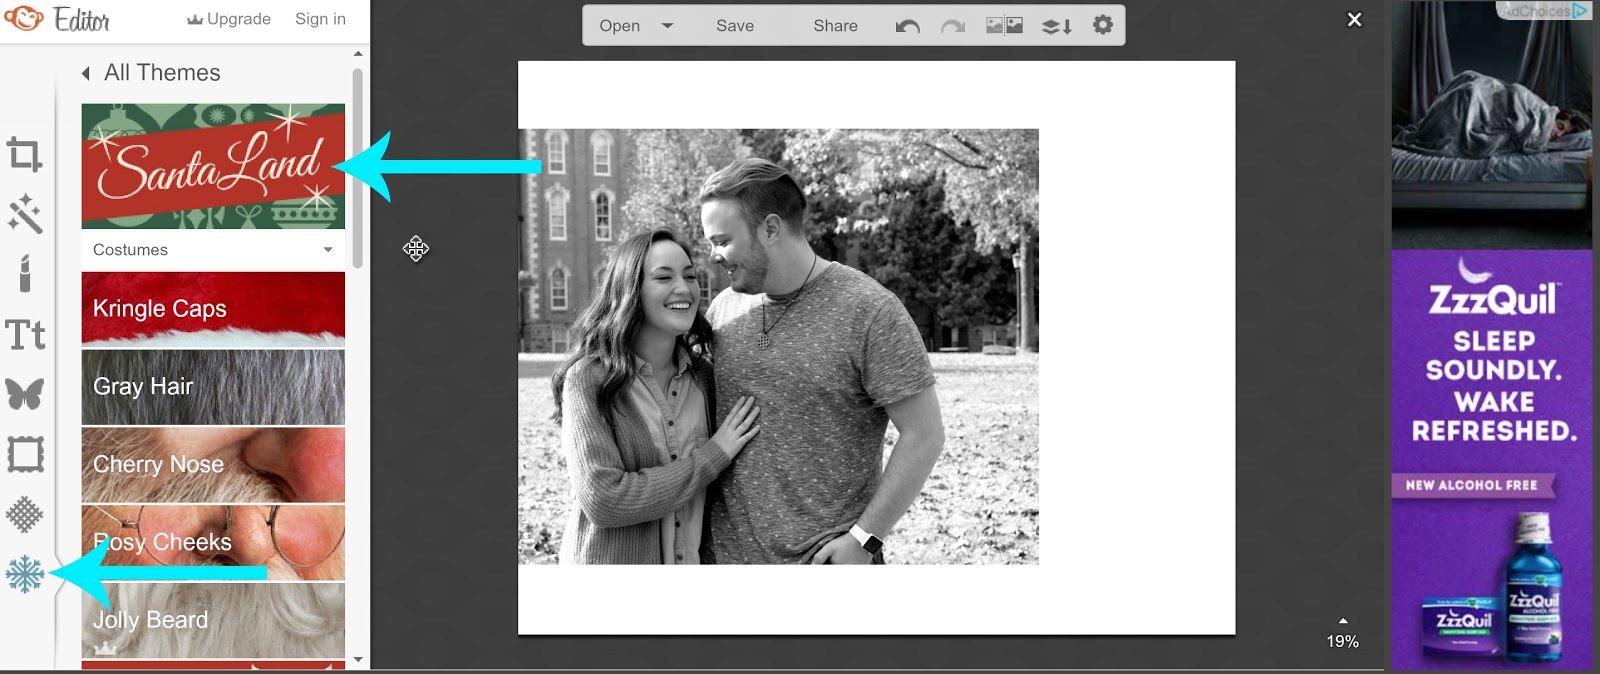
5. This is the fun part: click the very last icon in the editing tools, the snowflake, and go to “Santa Land”. Here you’ll find fun holiday designs to add to your card.
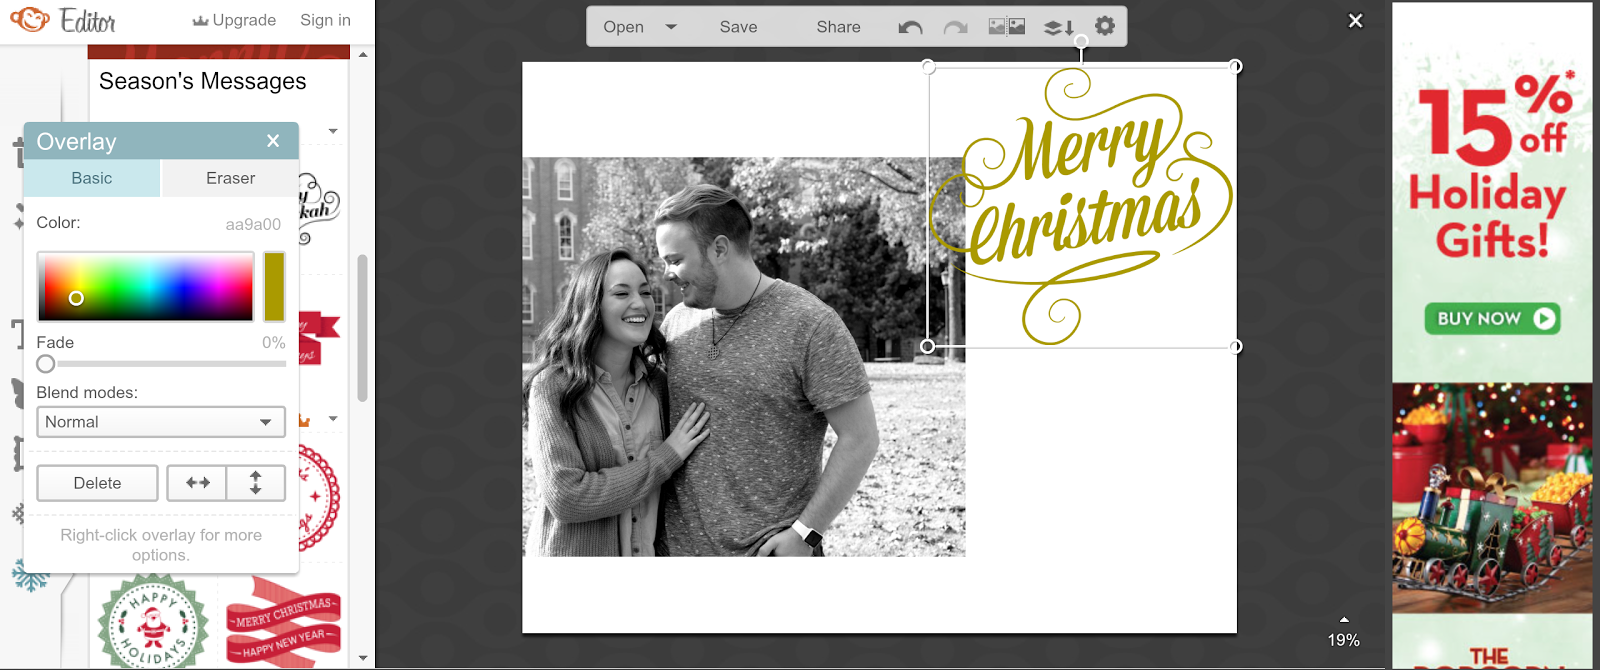
6. Choose a greeting with the “season’s messages” tool.

7. Change the text color and click on it to resize it as you wish!
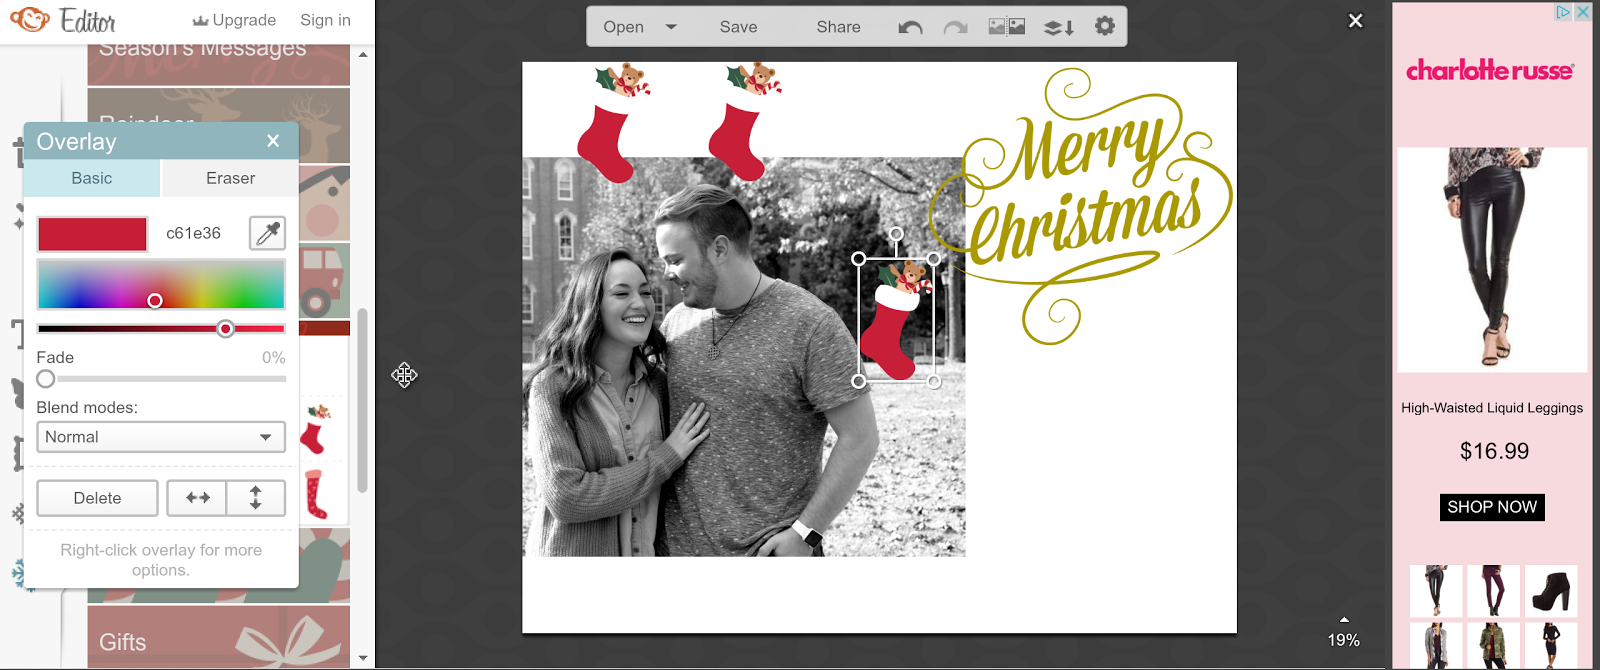
8. Add some stickers! I clicked on the “stockings” stickers to add some above our heads for a cute, fun touch.
9. Once you’re done adding stickers and designs, click on the text button to create your message! Play around with the sizing and font until you find the one that looks just right.

10. Save it to your computer, so you can print and share with friends and family!

Now this was just an example, but I did actually make one for real! If you’d like to receive a holiday card from me, leave me a comment with your email 🙂 And don’t forget to check out the other posts in this #galpalholiday linkup!
Wishing you a very happy holiday!
X,
Cristina